Ice Maker Slime Removal And Prevention Steps
At a Glance Ice maker slime removal involves cleaning all ice-contact surfaces with a vinegar or commercial cleaner to break down biofilm, while prevention requires routine maintenance such as monthly…
Ice maker slime removal involves cleaning all ice-contact surfaces with a vinegar or commercial cleaner to break down biofilm, while prevention requires routine maintenance such as monthly cleaning and replacing water filters. The slime, caused by mineral deposits and bacteria in standing water, creates a slippery film that affects ice taste and safety. Effective cleaning methods include running a cleaning cycle or manually scrubbing the bin, ice mold, and water lines with a non-toxic solution. Consistent care, such as wiping down the bin and using filtered water, stops slime from recurring and ensures clean-tasting ice.
Keeping your ice maker clean is important for healthy drinks. You might notice a yucky, slimy buildup in your ice bin or on the ice maker parts. This isn’t just gross; it can affect the taste of your ice and water.
Learning effective Ice Maker Slime Removal And Prevention Steps will help you enjoy fresh, clean ice every time. This guide will show you exactly how to get rid of that slime and stop it from coming back, ensuring your ice is always safe and tasty.
Key Takeaways
- You will learn simple methods to clean slime from your ice maker.
- Discover how to prevent slime from forming in the first place.
- Understand why slime appears and what causes it.
- Get tips for regular maintenance to keep your ice maker sparkling.
- Find out how to ensure your ice always tastes fresh and clean.
Why Ice Maker Slime Happens
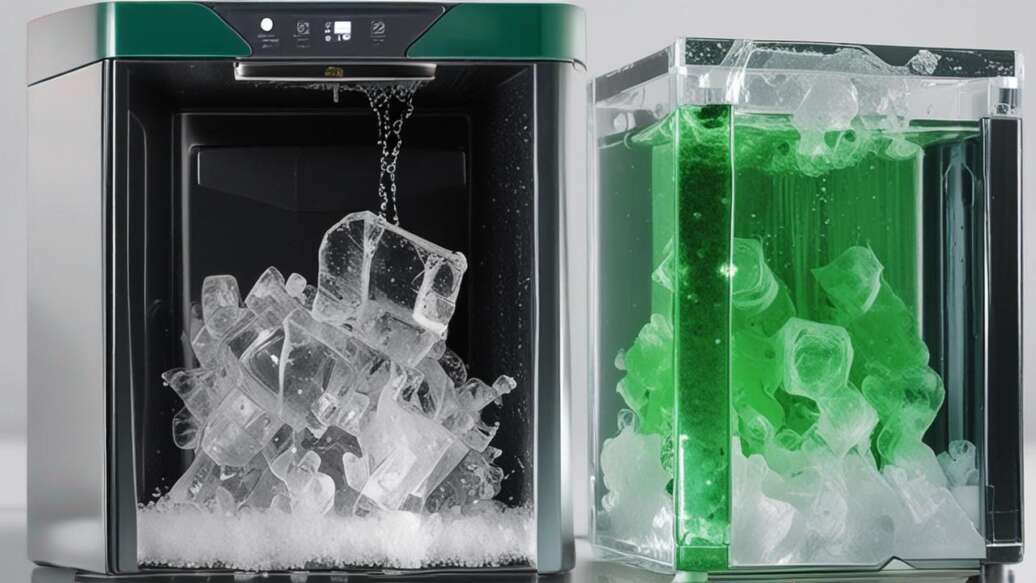
Ice maker slime, often called biofilm, is a common problem. It’s a slimy layer that grows on surfaces where water is present. This happens because water has minerals and sometimes organic matter in it.
When water sits or flows slowly, these things can stick to the ice maker parts. Bacteria and mold love these moist, nutrient-rich spots. They start to grow and form that slippery, often gray or greenish, film.
Several factors can make slime grow faster. If your water has a lot of minerals, it can leave behind residue that feeds the biofilm. Not cleaning your ice maker often enough is a big reason.
Use a water filter to reduce mineral content and organic matter, which are the main contributors to ice maker slime growth.
Also, if your ice maker isn’t used very much, water can sit still for longer periods. This gives bacteria more time to multiply. Even the temperature of your home can play a small role.
Warmer temperatures can sometimes encourage faster growth.
The taste and smell of your ice can also be affected. If you notice your ice smells musty or tastes a bit off, slime is likely the culprit. It can also clog up small parts of the ice maker, making it work less efficiently.
That’s why knowing the best Ice Maker Slime Removal And Prevention Steps is so important for keeping your appliance running well and your ice tasting great.
Easy Steps for Ice Maker Slime Removal
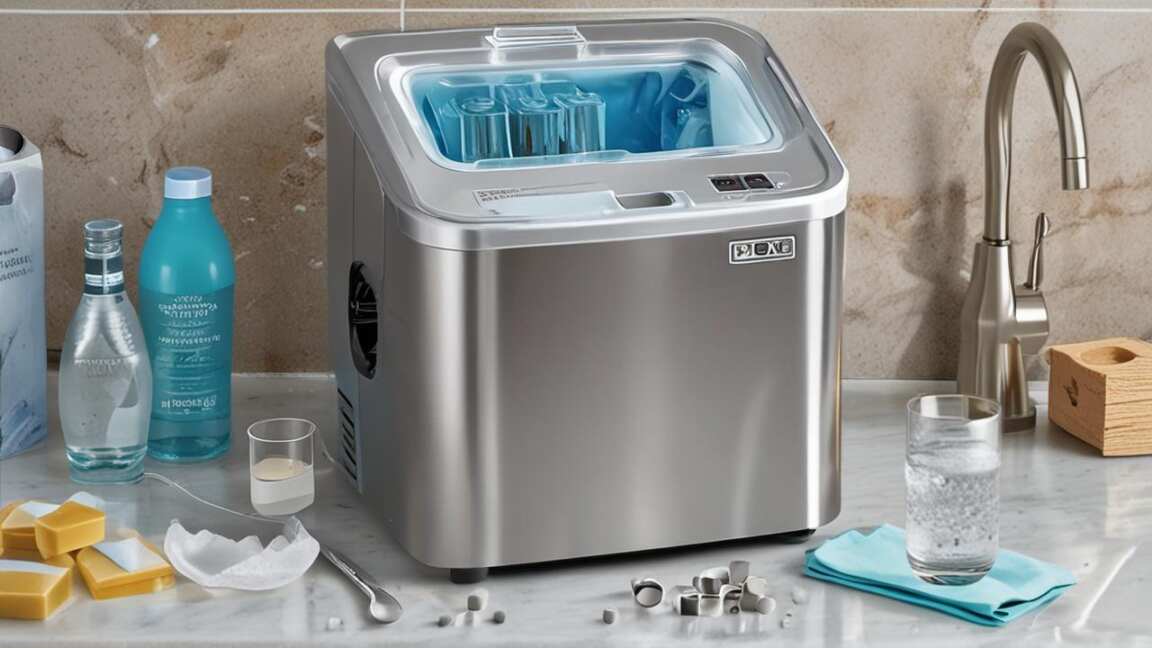
Getting rid of ice maker slime doesn’t have to be hard. You can use common household items to clean it effectively. The goal is to kill the bacteria and mold and then wash away the residue.
First, always unplug your ice maker. Safety is key. Then, remove any ice that’s in the bin.
You can discard this ice. If your ice maker has a removable bin or parts, take them out. This makes cleaning much easier.
Next, prepare your cleaning solution. A good option is a mixture of equal parts white vinegar and water. Vinegar is a natural disinfectant and helps break down mineral deposits.
Another effective cleaner is a solution of mild dish soap and warm water. For tougher slime, you might use a diluted bleach solution. Use about 1 tablespoon of bleach per gallon of water.
Always thoroughly rinse the ice maker after cleaning with any solution, especially if using bleach, to ensure no chemical residue remains on ice.
Be sure to rinse very well if you use bleach.
Then, use a soft cloth or sponge to wipe down all the interior surfaces. Get into corners and around any moving parts. For hard-to-reach spots, a soft brush can be helpful.
Make sure to scrub away all visible slime. Don’t forget the ice chute and the inside of the ice bin.
After scrubbing, rinse all the cleaned parts thoroughly with clean water. This is very important, especially if you used bleach, to remove any cleaning residue. Let the parts air dry completely.
This helps prevent new slime from forming right away. Once everything is dry, reassemble your ice maker.
Finally, run a few cycles of ice making and discard the first batch of ice. This flushes out any lingering cleaning solution or odors. Following these Ice Maker Slime Removal And Prevention Steps will make your ice maker look and smell fresh again.
Preventing Ice Maker Slime from Returning
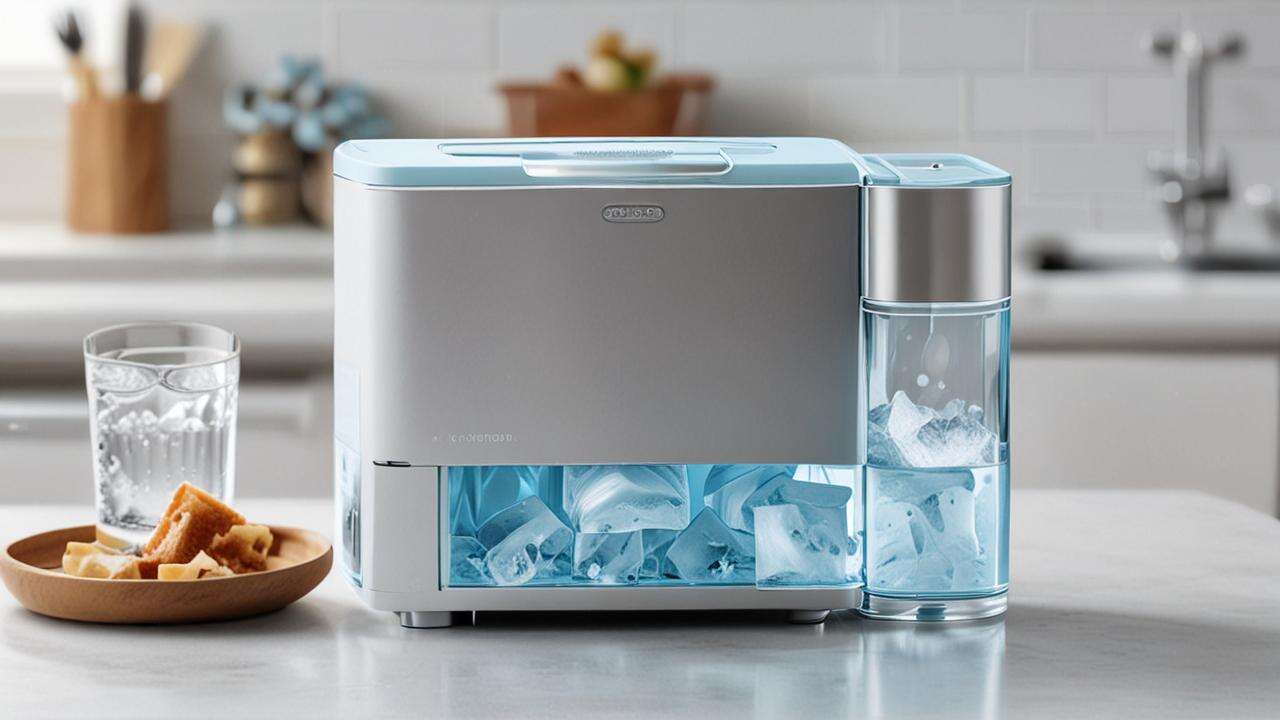
Cleaning is great, but stopping slime from coming back is even better. Prevention is all about making your ice maker a less friendly place for bacteria and mold. Consistent, simple habits can make a big difference.
Regular cleaning is your best defense. Aim to clean your ice maker at least every 3 to 6 months. If you use it a lot, or if your water has many minerals, you might need to clean it more often, perhaps every 2 to 3 months. Kitchentoolslab
This regular upkeep is a core part of effective Ice Maker Slime Removal And Prevention Steps.
Keep the ice bin dry when possible. If you don’t use a lot of ice, consider turning off the ice maker for a while. This stops water from constantly being in the system.
Consistent cleaning every three to six months makes your ice maker an inhospitable environment for slime-causing bacteria.
When you do turn it off, empty the bin and wipe it dry. This removes standing water that bacteria love.
Use filtered water if you can. A good water filter can remove minerals and impurities that contribute to slime buildup. Many refrigerators have built-in water filters.
If yours doesn’t, you can buy an external filter for your water line. This helps keep the water cleaner from the start.
Another tip is to use your ice maker regularly. If you have an ice maker that’s not used often, try to make ice at least once a week. Dump that ice and wipe the bin dry.
This keeps water moving and prevents stagnant pools where slime can grow. These simple actions are key Ice Maker Slime Removal And Prevention Steps that save you trouble later.
Different Types of Ice Makers and Cleaning Needs
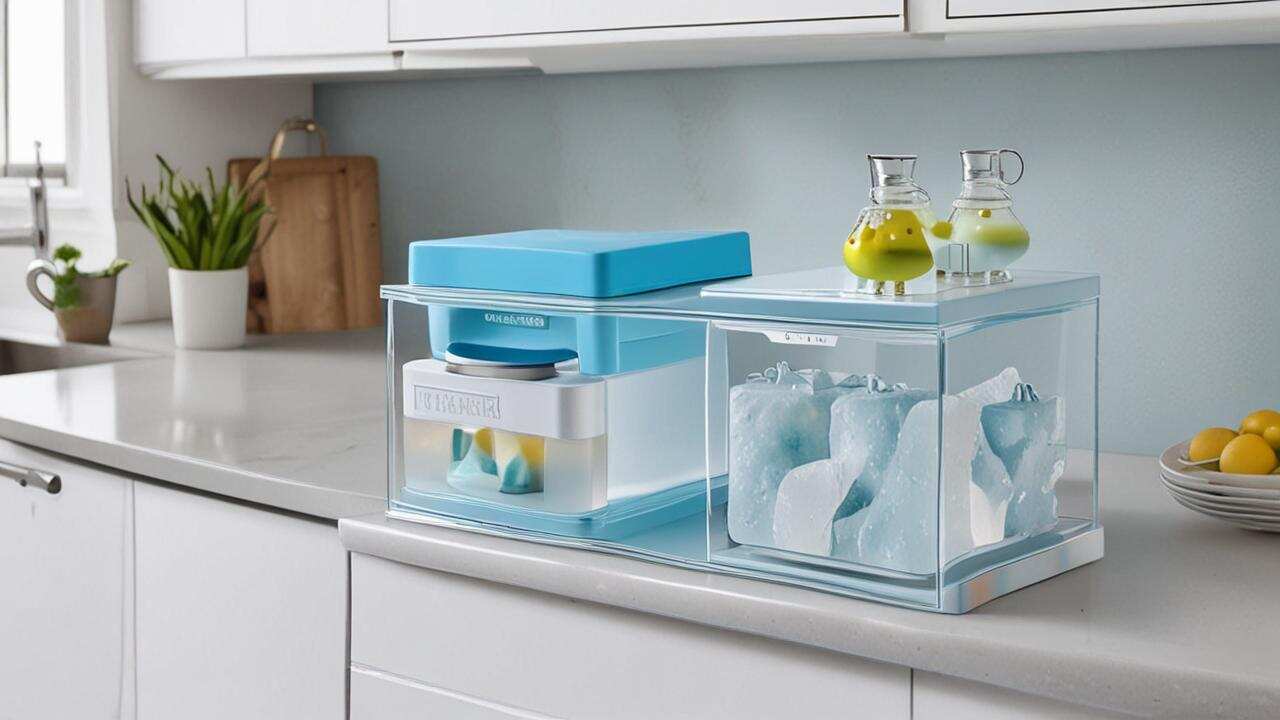
Ice makers come in various forms, and each might have slightly different cleaning needs. Understanding these can help you tailor your cleaning routine.
Built-in Refrigerator Ice Makers
These are the most common type. They are part of your refrigerator and make ice automatically. Cleaning involves accessing the ice bin and the water dispenser area.
You’ll need to follow the manufacturer’s instructions for removing parts and cleaning the interior.
After each use, dry the interior of portable ice makers thoroughly to prevent moisture that encourages slime growth.
Freestanding Ice Machines
These are separate units, often found in kitchens or bars. They usually have a larger capacity and might be more prone to slime if not maintained. Their design often makes access to internal parts easier for thorough cleaning.
Portable Ice Makers
These countertop units are convenient but can be prone to slime if not dried properly after each use. Because they are moved around, it’s crucial to ensure they are completely dry before storing to prevent moisture buildup.
Countertop Ice Makers
Similar to portable ones, these sit on your counter. They often have visible water reservoirs and ice chutes that need regular attention. The ease of access makes regular cleaning straightforward.
Regardless of the type, the basic principles of Ice Maker Slime Removal And Prevention Steps remain the same: clean regularly, use clean water, and keep parts dry. Always check your appliance’s manual for specific cleaning advice.

Choosing the Right Cleaning Solutions
When tackling ice maker slime, the cleaning solution you choose matters. You want something effective but safe for a device that makes ice you will consume.
Natural Cleaners
White vinegar is a fantastic natural cleaner. Its acidity helps break down mineral deposits and kill many types of bacteria. Mix it with water for a less harsh solution.
Lemon juice can also help with odors and has some antibacterial properties.
Mild Soap and Water
For everyday cleaning and light slime, a simple solution of mild dish soap and warm water is often enough. It helps lift away grime and residue. Always rinse thoroughly to remove soap traces.
Avoid using harsh chemical cleaners like bleach or ammonia in your ice maker, as residues can be harmful if ingested.
Diluted Bleach Solution
For stubborn slime or when you need to disinfect thoroughly, a diluted bleach solution is effective. Use about 1 tablespoon of household bleach per gallon of water. It’s crucial to rinse multiple times after using bleach to ensure no residue remains.
Never mix bleach with vinegar, as this creates toxic fumes.
Commercial Ice Maker Cleaners
There are specific cleaners made for ice makers available at hardware stores or appliance shops. These are often formulated to be effective and safe for food-grade surfaces. Follow the product instructions carefully.
The best approach often involves a combination of these methods. Regular use of milder solutions like vinegar or soap can prevent the need for stronger cleaners. These choices are a vital part of your Ice Maker Slime Removal And Prevention Steps.
Maintenance Schedule for a Slime-Free Ice Maker
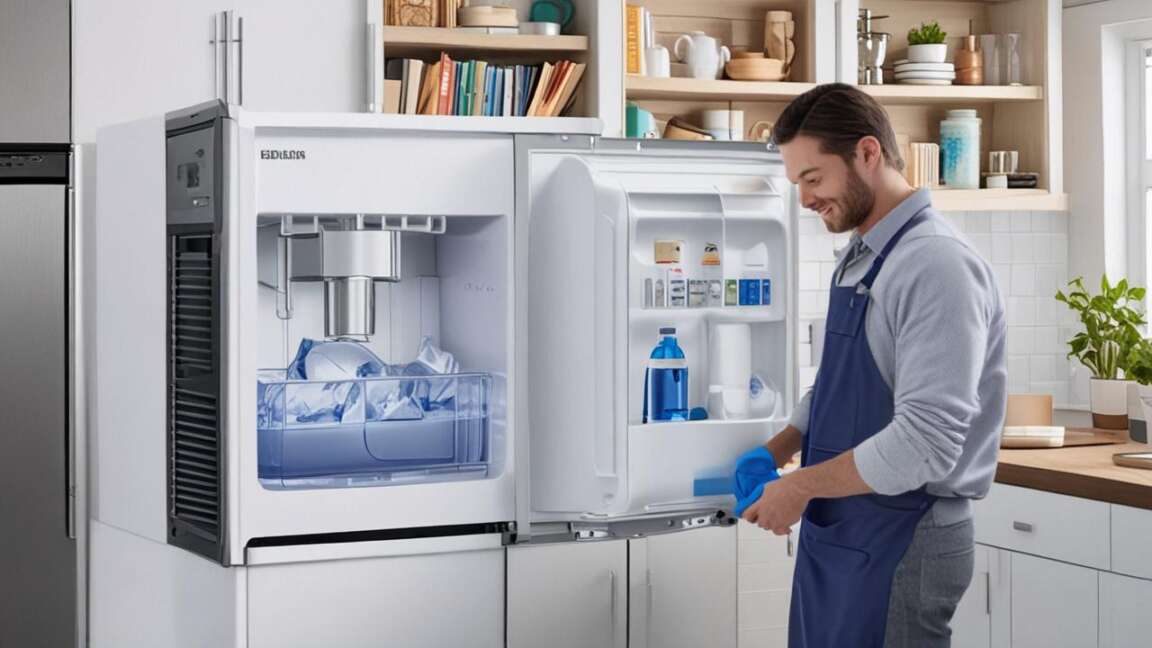
A consistent maintenance schedule is the secret to keeping your ice maker free of slime. Think of it like brushing your teeth – regular care prevents bigger problems.
Adjust your cleaning schedule based on water quality and usage; high-mineral water or heavy use may require monthly cleanings instead of quarterly.
- Weekly Check: Take a quick look at your ice bin. If you see any unusual moisture or small signs of slime, wipe it down with a damp cloth. If you don’t use much ice, empty the bin and wipe it dry.
- Monthly Wipe-Down: Once a month, remove the ice bin and wipe the inside of the ice maker compartment with a cloth dampened with a vinegar-water solution or mild soap and water. Rinse and dry.
- Quarterly Deep Clean: Every three months, perform a thorough cleaning. This involves unplugging the unit, removing all parts, scrubbing with your chosen cleaner (vinegar, soap, or diluted bleach), rinsing, and drying completely. Run a few cycles to flush the system.
- Annual Filter Change: If your ice maker uses a water filter, replace it at least once a year, or more often if recommended by the manufacturer. A clean filter means cleaner water going into your ice maker.
Sticking to this schedule is one of the most effective Ice Maker Slime Removal And Prevention Steps you can take. It ensures your ice maker works well and produces clean, safe ice.
Frequently Asked Questions
How often should I clean my ice maker to prevent slime?
For most ice makers, a deep clean every 3 to 6 months is sufficient. However, if you notice slime sooner, or if your ice maker is used heavily, clean it more frequently, perhaps every 2 to 3 months.
Can I use regular cleaning sprays to clean my ice maker?
It’s best to avoid general household cleaning sprays. They can leave behind chemicals that are not safe for food surfaces. Stick to food-safe cleaners like vinegar, mild soap, or specific ice maker cleaners.
My ice tastes funny, but I don’t see any slime. What could be wrong?
Even if you don’t see visible slime, bacteria can still be present. The funny taste is a sign that cleaning is needed. A thorough cleaning using one of the methods described, following proper Ice Maker Slime Removal And Prevention Steps, should resolve the taste issue.
Is it safe to use bleach to clean my ice maker?
Yes, a diluted bleach solution can be used for disinfecting, but it’s crucial to rinse the ice maker extremely well afterward to remove all traces of bleach. Ensure no bleach residue remains before making ice.
What is the best way to prevent slime in an ice maker that isn’t used often?
If your ice maker isn’t used much, turn it off and empty the ice bin. Wipe the bin and the interior dry. Making a batch of ice once a week and discarding it can also help prevent stagnant water and slime.
Can the slime from my ice maker make me sick?
While the slime itself may not be directly harmful in small amounts, the bacteria and mold that cause it can potentially cause illness if ingested, especially for those with weakened immune systems. Regular cleaning of your ice maker is a key part of ensuring safe ice.
Final Thoughts
Keeping your ice maker clean from slime is a straightforward process. By following regular cleaning routines and simple prevention tips, you can easily maintain a healthy appliance. Enjoying pure, fresh-tasting ice every time is achievable with these practical Ice Maker Slime Removal And Prevention Steps.