Ice Maker Mold Prevention And Removal Guide
At a Glance Preventing and removing mold from an ice maker requires consistent cleaning and proper maintenance to ensure safe, fresh-tasting ice. Mold thrives in moist, dark environments, so regular u…
Preventing and removing mold from an ice maker requires consistent cleaning and proper maintenance to ensure safe, fresh-tasting ice. Mold thrives in moist, dark environments, so regular use, keeping the ice bin dry, and allowing the unit to air out are critical preventive steps. For existing mold, turning off and unplugging the machine, then following a step-by-step removal process with appropriate cleaning supplies effectively eliminates contamination. Prioritizing these actions protects against potential health risks like allergies and respiratory issues while preserving ice quality.
Nobody wants to drink water from ice cubes that look or smell a little off. Keeping your ice maker clean is super important for your health and for the taste of your drinks. This guide will show you the best ways to stop mold from growing in the first place and how to get rid of it if it shows up.
You’ll learn how to make sure your ice is always fresh and safe to enjoy, giving you peace of mind. This Ice Maker Mold Prevention And Removal Guide will help you achieve that.
Key Takeaways
- Learn simple steps to prevent mold from growing in your ice maker.
- Discover effective methods for removing existing mold safely.
- Understand why regular cleaning is crucial for your health and ice quality.
- Find tips to keep your ice maker smelling fresh and ice tasting great.
- Get advice on choosing the right cleaning supplies for your ice maker.
Why Mold Hates a Clean Ice Maker
Mold can grow in moist, dark places, and your ice maker can be a perfect spot for it. This is especially true if you don’t use it very often. Mold isn’t just yucky to look at; it can also make you sick.
It can cause allergies, breathing problems, and other health issues. Plus, mold makes your ice taste and smell bad, ruining your drinks. Keeping your ice maker clean is the best way to avoid these problems and ensure you have pure, fresh ice every time.
Make cleaning your ice maker a routine task to avoid mold-related allergies and ensure fresh-tasting ice every time.
This Ice Maker Mold Prevention And Removal Guide focuses on making this process easy. We want you to feel confident that the ice you’re serving is clean and safe for everyone. Think of it as a simple way to take care of your appliance and your family’s well-being.
A little effort now can save you a lot of trouble later.
Stopping Mold Before It Starts
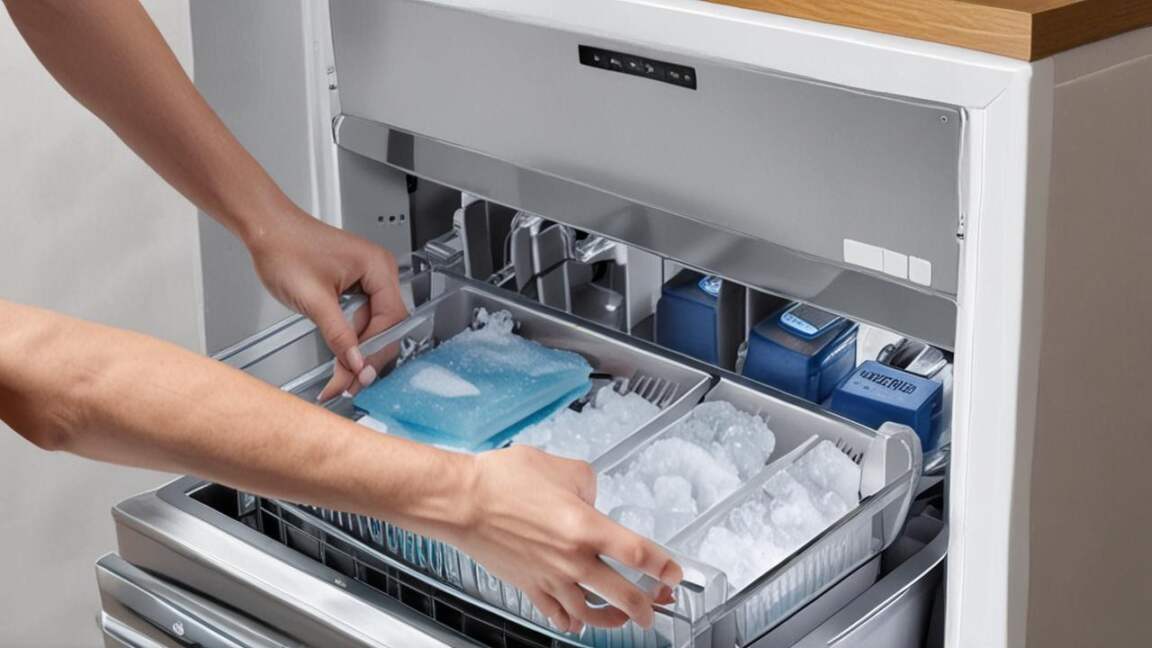
The best way to deal with mold is to prevent it from growing in the first place. This involves a few simple habits. Making these part of your routine will save you time and effort in the long run.
It’s all about creating an environment where mold can’t thrive.
Regular Use is Key
One of the easiest ways to prevent mold is to use your ice maker regularly. When ice sits in the bin for a long time, it can melt and refreeze. This creates moisture, which mold loves.
If you don’t use much ice, consider making a batch and dumping it every week or two. This helps keep the system moving and prevents stagnant water.
Using your ice maker frequently prevents moisture buildup that fosters mold growth, saving you time and effort on deep cleaning.
Keep the Ice Bin Dry
After you empty the ice bin, take a moment to wipe it dry with a clean cloth. This removes any lingering moisture that could encourage mold growth. Don’t skip this step, especially if you live in a humid climate.
A dry bin is a mold-free bin.
Air It Out
When you’re not using the ice maker for an extended period, like during a vacation, leave the ice bin door or lid open. This allows air to circulate and helps everything dry out completely. Make sure there’s no water left inside before you leave.
Check Water Filters
Many ice makers have water filters. These filters help remove impurities from the water, which can also prevent mold and bacteria from growing. Make sure you replace your water filter according to the manufacturer’s recommendations.
A clogged or old filter won’t do its job effectively.
Your Step-by-Step Ice Maker Mold Removal Guide
Even with the best prevention, sometimes mold can still sneak in. Don’t worry! Removing it is usually straightforward.
This Ice Maker Mold Prevention And Removal Guide includes simple, effective cleaning steps. Always follow your ice maker’s manual for specific cleaning instructions, as models can vary.
Gather Your Supplies
Before you start, make sure you have everything you need. This will make the cleaning process smoother and faster. You don’t need fancy chemicals; common household items work best.
- Mild dish soap for general cleaning.
- White vinegar or a vinegar-water solution (1 part vinegar to 1 part water) for disinfecting.
- A soft cloth or sponge.
- A soft brush (like an old toothbrush) for tight spots.
- A clean towel for drying.
- Gloves to protect your hands.
Step 1: Turn Off and Unplug
First, safety is important. Turn off your ice maker and unplug it from the power outlet. This prevents any accidental starts while you’re cleaning.
If it’s a portable ice maker, disconnect it. If it’s built-in, find the power switch or unplug it.
Step 2: Empty the Ice Bin
Remove all the ice from the bin. You can discard it or use it for something else quickly, like chilling drinks. If there’s water in the bottom, drain it out.
Step 3: Wash Removable Parts
Take out any parts that can be removed, like the ice bin, ice scoop, and any trays or baskets. Wash these in warm, soapy water. Rinse them thoroughly to remove all soap residue.
Let them air dry completely or dry them with a clean towel.
Step 4: Clean the Interior
Now, it’s time to clean the inside of the ice maker. For general cleaning, use a cloth dampened with warm, soapy water. Wipe down all accessible surfaces, including the inside walls, the ice chute, and the area where ice drops.
Always unplug your ice maker before cleaning to ensure safety and prevent electrical hazards.
Step 5: Disinfect with Vinegar
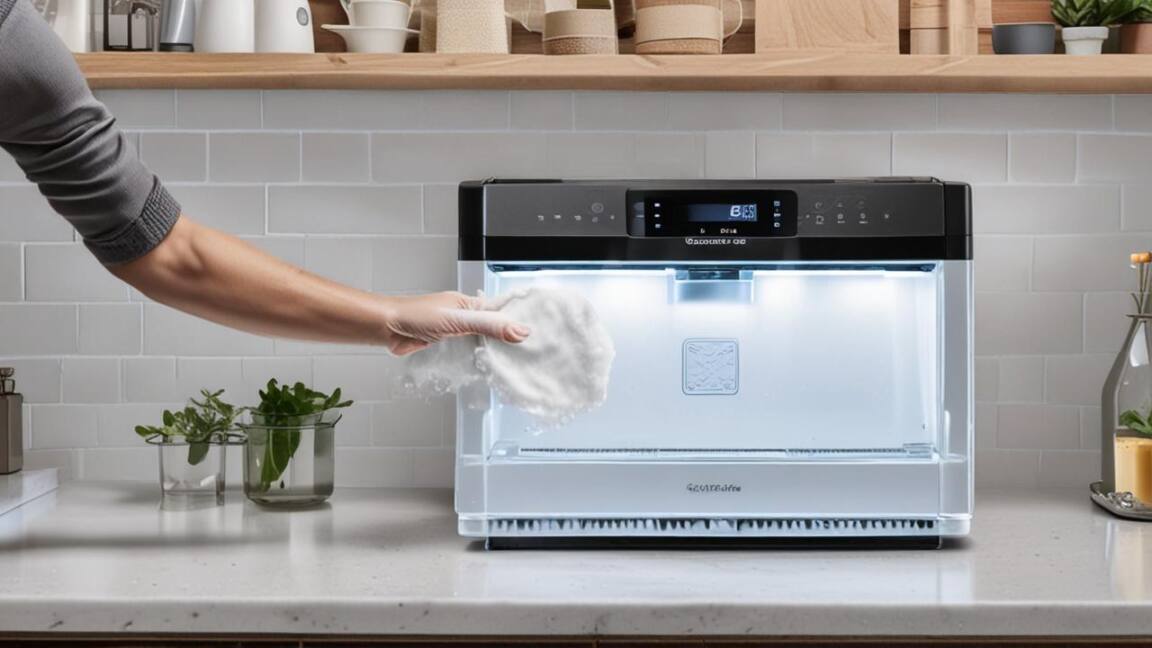
To kill mold and bacteria, use a vinegar solution. Mix equal parts white vinegar and water. Dampen a clean cloth with this solution and wipe down all interior surfaces.
Pay special attention to any areas where you see mold. Let the vinegar solution sit for a few minutes to work its magic.
Step 6: Rinse Thoroughly
After the vinegar has sat, wipe everything down again with a clean cloth dampened with plain water. This is crucial to remove any lingering vinegar smell or taste. You want your ice to taste like water, not salad dressing!
Step 7: Clean the Exterior
Don’t forget the outside! Wipe down the exterior of your ice maker with a damp cloth and a little mild soap. Dry it with a clean towel.
This keeps your appliance looking good and prevents dirt buildup.
Step 8: Dry Everything Completely
This is a critical step in the Ice Maker Mold Prevention And Removal Guide. Make sure all parts, both inside and out, are completely dry before you reassemble everything and plug the ice maker back in. Moisture is mold’s best friend, so you want to eliminate it.
Step 9: Run a Cleaning Cycle (If Applicable)
Some ice makers have a self-cleaning function. If yours does, follow the manufacturer’s instructions to run this cycle. This often uses hot water or a cleaning solution to flush out the system.
If yours doesn’t have a self-cleaning feature, you can manually run a few cycles with clean water after cleaning.
Step 10: Make and Discard First Batch of Ice
Once everything is clean and reassembled, plug your ice maker back in. Let it run a full cycle to make ice. Discard this first batch of ice.
This flushes out any residual cleaning solution or odors and ensures your next batch of ice is pure.
Dealing with Stubborn Mold Stains
If you find mold stains that are hard to remove, you might need a slightly stronger approach. Always test any cleaning solution on an inconspicuous area first to ensure it doesn’t damage the material.
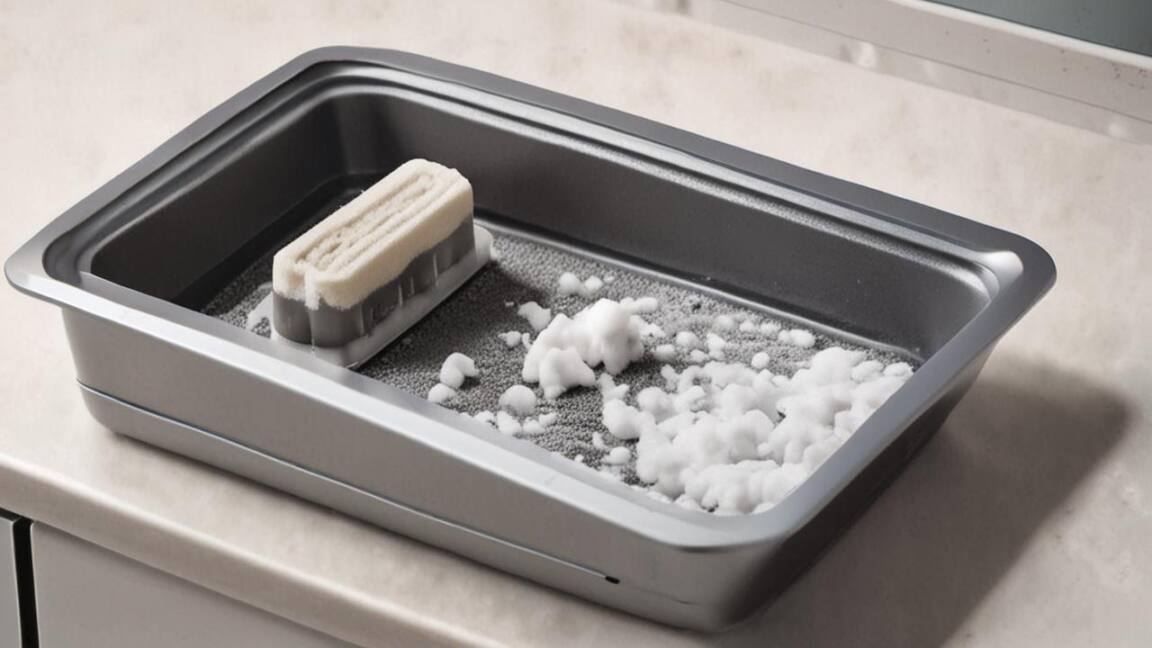
Use a baking soda paste for stubborn mold stains; it is gentle yet effective on ice maker surfaces.
Baking Soda Paste
For tough spots, you can make a paste of baking soda and water. Apply this paste to the stained area and let it sit for about 15-20 minutes. Then, gently scrub with a soft brush and wipe clean with a damp cloth.
Rinse thoroughly.
Commercial Ice Maker Cleaners
There are commercial cleaners specifically designed for ice makers. If you choose to use one, follow the product’s instructions carefully. Make sure the cleaner is safe for food-contact surfaces and rinse very well afterward.
When to Consider Professional Help
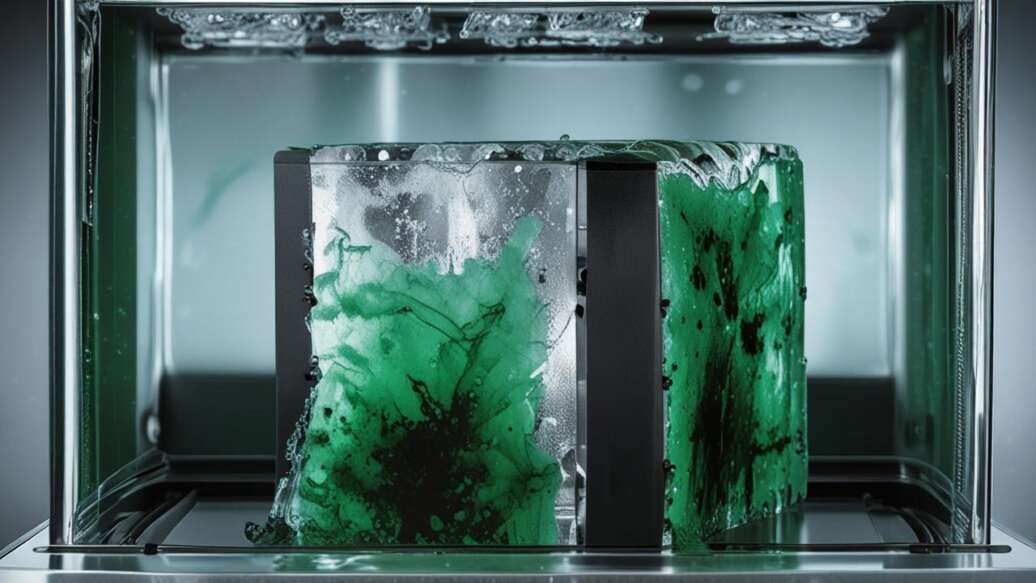
For most home ice makers, regular cleaning is enough. However, if you notice persistent mold problems, foul odors that won’t go away, or if your ice maker is malfunctioning, it might be time to call a professional. They can identify underlying issues that you might not be able to fix yourself.
Persistent mold or foul odors after cleaning may indicate a deeper issue that requires a professional inspection.
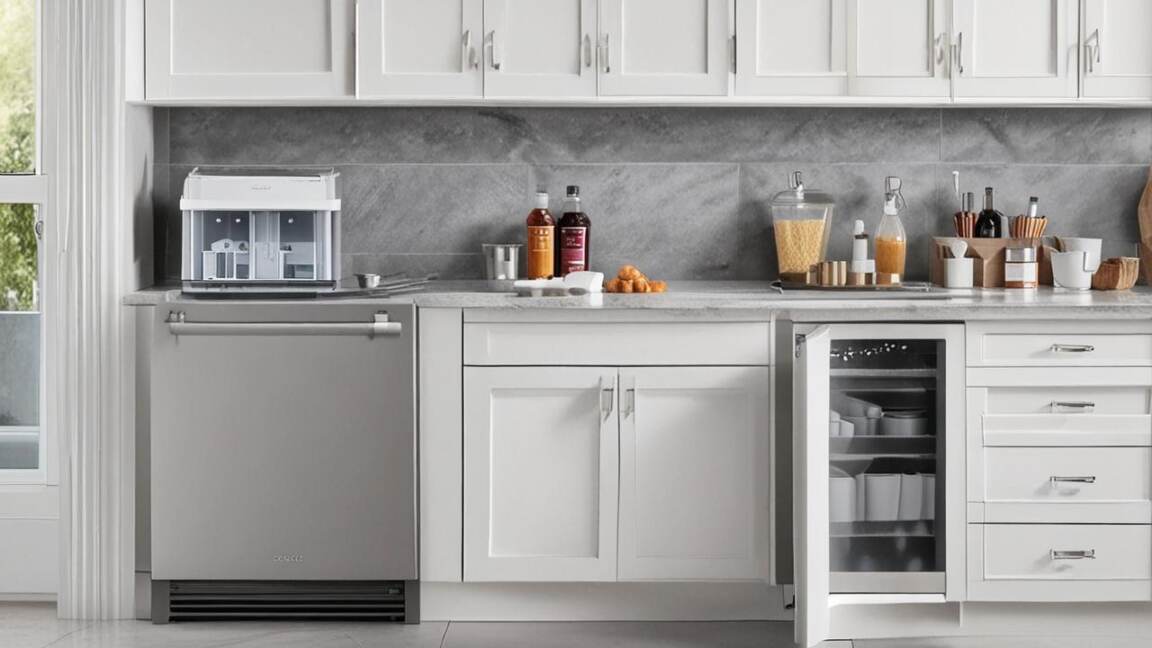
Ice Maker Types and Cleaning Differences
The type of ice maker you have can affect how you clean it. Understanding these differences is part of a good Ice Maker Mold Prevention And Removal Guide.
Portable and countertop ice makers have different disassembly steps; always check your manual for specific cleaning instructions.
Frequently Asked Questions
How often should I clean my ice maker to prevent mold?
It’s a good idea to do a quick clean of the ice bin and visible parts every 2-4 weeks. A more thorough cleaning, including disinfection, should be done every 3-6 months, or more often if you live in a humid area or notice any signs of mold or odors.
Can I use bleach to clean my ice maker?
While bleach can kill mold, it’s generally not recommended for ice makers because it can leave a strong, hard-to-remove odor and taste. White vinegar is a safer and effective alternative for disinfecting.
My ice maker smells musty, what should I do?
A musty smell usually indicates mold or mildew growth. Follow the steps in this Ice Maker Mold Prevention And Removal Guide for thorough cleaning and disinfection. Ensure all parts are dried completely.
Running a few cycles with clean water afterward can help clear any lingering smells.
What kind of water is best for my ice maker to prevent mold?
Using filtered water is highly recommended. Filters remove impurities, minerals, and chlorine that can contribute to mold growth and affect the taste of your ice. Always check and replace your water filter as per the manufacturer’s instructions.
How do I know if the mold is gone after cleaning?
Visually inspect all cleaned areas for any signs of mold. Ensure there are no lingering musty or strange odors. If the smell or any visible mold returns quickly, you may need to repeat the cleaning process or consult your appliance manual for specific troubleshooting.
Final Thoughts
Keeping your ice maker mold-free is simple with regular cleaning and attention. This Ice Maker Mold Prevention And Removal Guide provides the steps you need for fresh, safe ice. Follow these tips to enjoy pure, clean ice every time.