Ice Maker Leaking Water: Common Causes And Fixes
At a Glance An ice maker leaking water is often caused by a frozen water line, a loose or damaged water supply line, a clogged drain tube, or a faulty water inlet valve. Identifying the specific issue…
An ice maker leaking water is often caused by a frozen water line, a loose or damaged water supply line, a clogged drain tube, or a faulty water inlet valve. Identifying the specific issue requires checking the water supply line connections and ensuring the ice bin is properly seated. A frozen water line can be addressed by thawing the line, while a clogged drain tube may need cleaning to allow proper drainage. Regular maintenance and prompt repairs prevent water damage and keep the ice maker operating efficiently.
Seeing a puddle around your ice maker can be frustrating, but don’t worry. It’s usually a simple fix. Understanding Ice Maker Leaking Water: Common Causes And Fixes can save you time and money.
This guide will help you pinpoint the problem and get your ice maker working right again. You’ll learn how to prevent future leaks and keep your kitchen dry and clean.
Key Takeaways
- A frozen water line is a frequent reason for an ice maker leaking water.
- Check for loose or damaged water supply line connections to fix leaks.
- A clogged drain tube can cause water to back up and leak from the ice maker.
- Faulty water inlet valves are another common cause of ice maker leaking water.
- Ensure the ice maker’s bin is properly seated to prevent water from escaping.
- Learn how to properly shut off the water supply before attempting repairs.
Why Your Ice Maker Might Be Leaking
An ice maker is a handy appliance. It gives you ice whenever you need it. But when it starts leaking, it becomes a real nuisance.
Inspect the floor around your refrigerator regularly for any signs of moisture to catch a small leak before it causes significant water damage.
This problem can lead to water damage on your floors. It can also waste water and increase your utility bills. Identifying the exact cause is the first step to solving it.
We’ll cover the most common reasons for an ice maker leaking water.
Frozen Water Line: The Icy Culprit
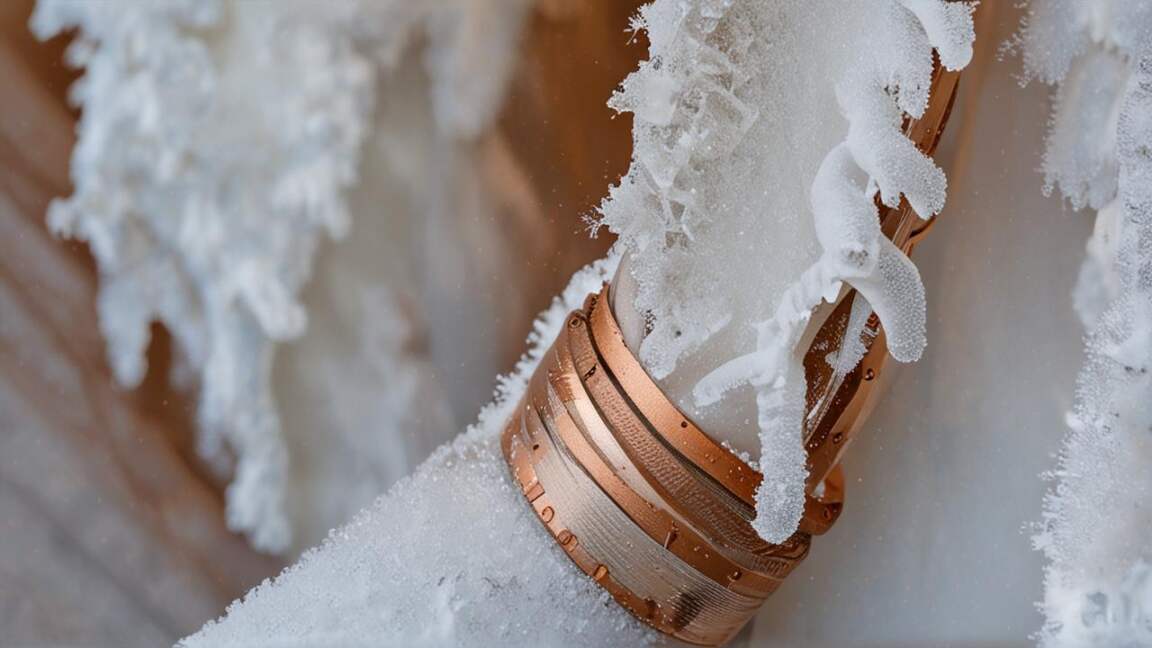
One of the most frequent reasons for an ice maker leaking water is a frozen water line. This happens when the temperature in your freezer gets too low. Or, the water line itself might be too close to a cold spot.
When the water line freezes, it can’t deliver water to the ice maker. This can cause water to back up and leak out. You might see water pooling near the back of your refrigerator.
Sometimes, it drips down to the floor.
First, locate your refrigerator’s water supply line. It usually runs from the wall to the back of the fridge. Check if it feels unusually cold or if you see any frost on it.
If your water line is located near a freezing compartment or vent, consider insulating it with foam pipe insulation to prevent freezing and subsequent leaks.
If the line is frozen, try to thaw it gently. You can use a hairdryer on a low setting. Aim the warm air at the frozen section of the line.
Be patient; this can take some time. Avoid using anything too hot, as it could damage the line.
Next, once the line is thawed, monitor your ice maker. See if it starts producing ice again. If it freezes again quickly, the problem might be the freezer temperature.
Ensure your freezer is set to the correct temperature, usually around 0°F (-18°C). Also, check for any obstructions near the water line inside the freezer compartment. Sometimes, a bag of food can push against it.
This can lead to repeated freezing.
Loose or Damaged Water Supply Line
Another common cause of an ice maker leaking water is a problem with the water supply line itself. This line brings water from your home’s plumbing to the ice maker. If the connection is loose, water can seep out.
Even a small drip can turn into a puddle over time. Damage to the line, like a small crack or a worn-out fitting, can also cause leaks.
First, you’ll need to turn off the water supply to the ice maker. Look for a shut-off valve behind your refrigerator. It’s usually a small handle or knob.
A loose connection at the water line is often the simplest cause of a leak, yet it's frequently overlooked until water damage appears.
Turn it clockwise to shut off the water. Then, carefully inspect the connection points. Check where the water line connects to the back of the refrigerator and where it connects to the wall valve.
Look for any signs of drips or moisture.
If the connection seems loose, try tightening it. You might need a wrench for this. Be gentle; overtightening can also cause damage.
If you see any cracks or obvious damage to the water line tubing, it needs to be replaced. You can usually buy replacement water lines at appliance stores or hardware shops. Make sure to get the correct length and type of tubing.
Finally, after making any adjustments or replacements, turn the water supply back on slowly. Watch the connections closely for any new leaks. If everything looks good, the ice maker should start filling and making ice again.
Clogged Drain Tube
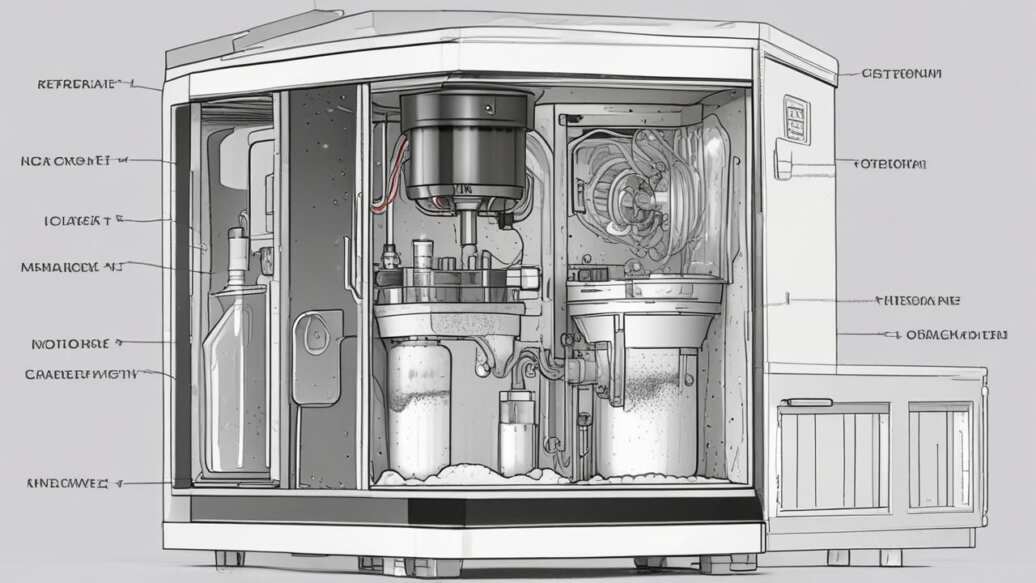
Some refrigerators with ice makers have a drain tube. This tube helps remove excess water from the ice maker’s mold. If this drain tube gets clogged, water can’t escape properly.
It can back up and overflow. This overflow can then lead to an ice maker leaking water. You might notice water pooling inside the ice bin or around the ice maker mechanism.
First, you’ll likely need to pull the refrigerator away from the wall. This gives you access to the back. Locate the drain tube.
It’s usually a small, flexible tube. It might be connected to the ice maker assembly and run down towards a drain pan or the freezer floor.
Clear a clogged drain tube by flushing it with warm water using a turkey baster or a small funnel to prevent overflow from the ice maker mold.
Next, try to clear any blockages. You can use a thin, flexible wire or a pipe cleaner. Gently insert it into the tube to push out any ice or debris.
Be careful not to puncture the tube. If you can’t clear it this way, you might need to disconnect the tube. Then, you can try flushing it with warm water or using a small amount of compressed air.
Then, once the tube is clear, reconnect it securely. Make sure there are no kinks in the tube. Finally, push the refrigerator back into place.
Turn the water supply back on and check for leaks. It’s also a good idea to run a few cycles of ice making to ensure the drain is working correctly.
Faulty Water Inlet Valve
The water inlet valve is a small but crucial part. It controls the flow of water into your ice maker. When this valve malfunctions, it can cause leaks.
It might not close completely, allowing water to constantly drip into the ice maker. This can lead to overfilling and, consequently, an ice maker leaking water.
Diagnosing a faulty water inlet valve can be a bit trickier. You might hear a constant hissing sound from the back of the fridge, even when the ice maker isn’t actively filling. You may also notice that the ice maker produces too much ice, or the ice cubes are unusually large.
First, turn off the water supply to the refrigerator. Next, locate the water inlet valve. It’s usually on the back of the refrigerator where the water line connects.
A constant dripping sound from the back of your refrigerator, even when the ice maker is not filling, may indicate a faulty water inlet valve that requires professional replacement.
You’ll see wires connected to it. Then, you can test the valve. Some people use a multimeter to check for electrical continuity.
However, if you’re not comfortable with electrical testing, it’s often best to replace the valve.
Replacing the water inlet valve involves disconnecting the water line and the electrical connector. You’ll then unscrew the old valve and install the new one. Ensure the new valve is compatible with your refrigerator model.
Finally, reconnect the water line and electrical connector. Turn the water back on and check for leaks. This fix often resolves persistent ice maker leaking water issues.
Ice Bin Not Seated Properly
Sometimes, the simplest solutions are overlooked. If your ice bin isn’t sitting correctly in its place, it can cause leaks. The ice bin is designed to catch the ice that falls from the maker.
It also directs any meltwater into the drain. If it’s out of alignment, water can spill over the sides or out of the front.
First, remove the ice bin from your refrigerator. You might need to lift it or slide it out. Check the area where the bin sits.
Look for any obstructions that might be preventing it from seating properly. Sometimes, a piece of ice or a fallen food item can get lodged in the tracks.
Ensuring the ice bin is fully seated and free of debris or ice buildup at the back prevents water from spilling over during the dispensing cycle.
Next, clean the inside of the ice bin and the area where it sits. Make sure there’s no debris. Then, carefully reinsert the ice bin.
Ensure it slides in smoothly and sits level. You should hear or feel it click into place. Some bins have specific guides or mechanisms to ensure correct placement.
Finally, once the bin is properly seated, fill it with ice. Observe for a few hours to see if any water leaks appear. This is a quick check that can save you a lot of trouble.
It’s a common reason for an ice maker leaking water that many people miss.
Other Potential Causes
While the above are the most common reasons for an ice maker leaking water, there are a few other possibilities. One is a worn-out ice maker mold. The mold is where the ice is formed.
If it’s cracked or damaged, it could leak water. Another cause could be a faulty dispenser chute seal. If the seal is damaged, water could leak when you dispense ice.
A refrigerator’s defrost system can also play a role. If the defrost heater or thermostat isn’t working correctly, excessive frost can build up. This frost can interfere with the ice maker’s operation and lead to leaks.
Even a small crack in the ice maker mold or a faulty defrost system can cause a persistent leak that mimics other common issues.
Sometimes, the water filter housing can develop a leak. If the filter isn’t seated correctly or the housing is cracked, water can escape.
If you’ve tried the common fixes and are still experiencing an ice maker leaking water, it might be time to call a professional. They have the tools and expertise to diagnose more complex issues. They can also perform repairs safely.
Don’t let a small leak turn into a big problem.
Preventing Future Leaks
Preventing an ice maker leaking water is easier than fixing it. Regular maintenance is key. Keep the area around your ice maker clean.
Remove any ice buildup or debris regularly. Check the water supply line for any signs of wear or damage periodically.
Ensure your refrigerator’s temperature settings are correct. This helps prevent the water line from freezing. If you have a water filter, replace it according to the manufacturer’s recommendations.
Regularly inspect and clean the ice maker area, and replace the water filter on schedule to catch potential problems before they cause leaks.
A clogged filter can sometimes put stress on the water system.
Always make sure the ice bin is properly seated after emptying it. If you notice any small drips, address them immediately. It’s better to fix a minor issue before it becomes a major leak.
Following these simple tips can help you avoid the frustration of an ice maker leaking water.
Frequently Asked Questions
What is the most common cause of an ice maker leaking water?
The most common cause of an ice maker leaking water is a frozen water supply line. This happens when the freezer temperature is too low or the line is positioned near a cold area.
How do I know if my ice maker’s water inlet valve is bad?
Signs of a faulty water inlet valve include a constant hissing sound from the back of the fridge or the ice maker producing too much ice. It might also fail to shut off water flow completely, leading to ice maker leaking water.
Can a simple ice bin misalignment cause a leak?
Yes, absolutely. If the ice bin is not seated correctly, water can spill over the sides or out the front, causing an ice maker leaking water problem.
Should I turn off the water supply before fixing an ice maker leak?
Yes, it is always recommended to turn off the water supply to the refrigerator before attempting any repairs. This prevents further water leakage and potential damage.
How often should I check my ice maker for leaks?
It’s a good idea to check for leaks periodically, especially if you notice any unusual moisture. Regular checks, perhaps monthly, can help catch small issues before they become big problems with your ice maker leaking water.
Final Thoughts
Seeing water around your ice maker doesn’t have to be a big headache. By understanding the common culprits like frozen lines, loose connections, or clogged drains, you can often fix it yourself. Addressing these issues promptly will keep your kitchen dry and your ice maker working perfectly.