Ice Maker Drainage Setup For Countertop Models
At a Glance Countertop ice maker drainage setup involves either manual draining of the water reservoir or connecting a continuous drain hose to redirect melted ice and waste water. Proper drainage pre…
Countertop ice maker drainage setup involves either manual draining of the water reservoir or connecting a continuous drain hose to redirect melted ice and waste water. Proper drainage prevents overflow, water damage, and ensures the ice maker operates efficiently without interruption. Manual draining requires emptying the reservoir regularly, while continuous drain connections offer hands-free operation by routing water directly to a sink or floor drain. Choosing the correct method depends on your kitchen layout and how frequently you use the ice maker, with continuous setups being the most reliable for high-volume use.
Getting a great ice maker for your kitchen is exciting, but figuring out where the water goes when it drains can be a puzzle. Many people wonder about the best way to handle this. Proper Ice Maker Drainage Setup For Countertop Models is key to avoiding messes and keeping your appliance working well.
This guide will show you how simple it can be to set up your drainage, saving you time and preventing water damage, so you can enjoy perfectly chilled drinks without any hassle.
Key Takeaways
- Understanding how your countertop ice maker drains is important for preventing water spills.
- There are several easy methods for setting up the drainage for your countertop ice maker.
- You can often use existing plumbing or simple drainage solutions to manage excess water.
- Choosing the right drainage method depends on your kitchen layout and how often you use the ice maker.
- Proper setup helps your ice maker last longer and work more efficiently.
- Simple modifications can make your Ice Maker Drainage Setup For Countertop Models hassle-free.
Why Proper Drainage Matters for Your Countertop Ice Maker
Having a countertop ice maker is a fantastic convenience. It means fresh ice whenever you need it for drinks or chilling food. But what happens to the water when the ice melts or the machine flushes itself?
This is where drainage comes in. If it’s not set up correctly, you could end up with puddles on your counter or floor. This isn’t just messy; it can also damage your cabinets or even lead to mold growth over time.
Manual draining is the simplest approach for many countertop models, requiring only periodic emptying of the collection reservoir.
A good drainage setup prevents puddles that can damage cabinets and lead to mold growth, keeping your kitchen dry and clean.
A good drainage setup ensures your ice maker works smoothly and keeps your kitchen dry and clean.
The goal of any Ice Maker Drainage Setup For Countertop Models is to safely move unwanted water away from the unit and your kitchen surfaces. This prevents potential water damage and keeps your appliance functioning at its best. Think of it as a small but vital part of the overall operation.
Without a plan for this water, the convenience of a countertop ice maker can quickly turn into a messy problem.
Common Drainage Methods for Countertop Ice Makers
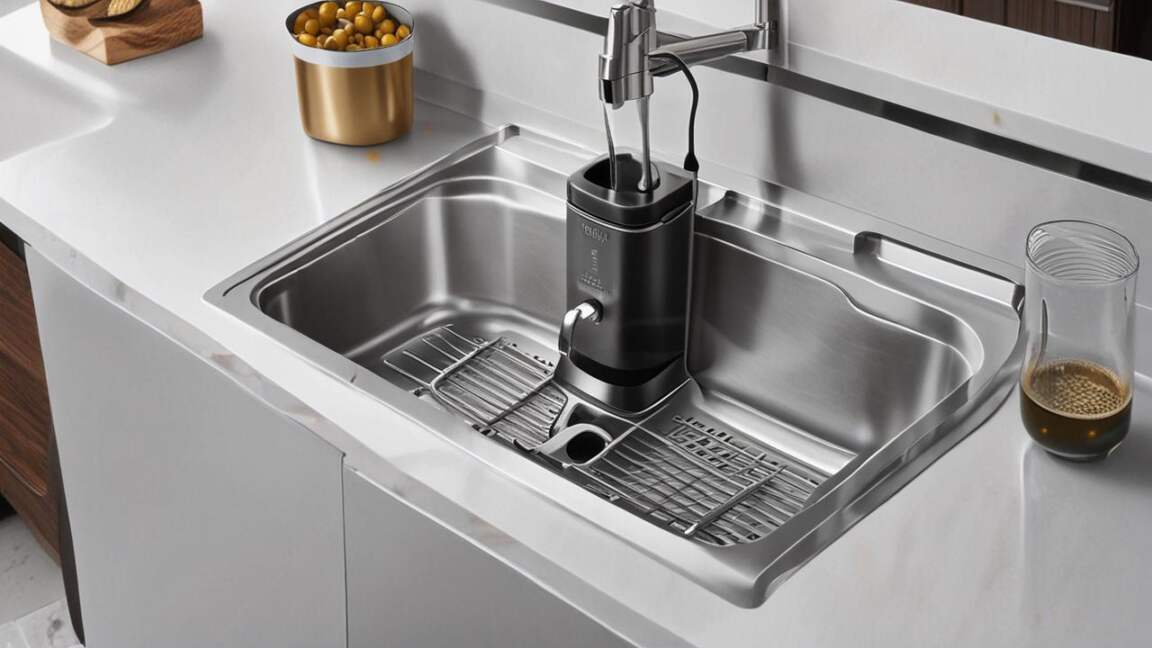
Countertop ice makers generally have two main ways they handle drainage: manual emptying or a continuous drain connection. The method you use often depends on the specific model you have and your personal preference. Some models are designed for simple manual draining, while others offer the option for a more automated setup.
Manual Draining Explained
Many smaller countertop ice makers are designed with manual draining in mind. This is the simplest approach and requires no special plumbing. When the ice maker’s internal bin fills up or it needs to flush old water, you’ll typically see a drain plug or a reservoir that collects the water.
Your job is to periodically empty this collection point.
For models with a simple drain plug, you’ll usually need to place a container, like a bowl or pitcher, beneath the plug and remove it. The old water will flow out. Once it’s empty, you replace the plug.
If your ice maker has a separate water reservoir for drainage, you’ll need to remove that reservoir and empty it like a pitcher. This method is straightforward but requires regular attention.
The main benefit of manual draining is its simplicity. There’s nothing to install, and it’s perfect for renters or those who don’t want to alter their kitchen plumbing. The downside is that it requires you to be present and attentive.
Connecting to existing plumbing offers the most integrated solution but often demands advanced DIY skills or professional help.
If you forget to empty it, you might end up with overflow or the ice maker might stop producing ice.
Continuous Drain Connection
Some countertop ice makers offer the option for a continuous drain. This is a more automated approach that connects the ice maker directly to a drain, much like a refrigerator ice maker that’s plumbed in. This method is ideal if you want the ice maker to operate without constant intervention.
To set up a continuous drain, your ice maker will usually have a drain port. This port needs to be connected to a suitable drain. This could be a nearby sink drain, a standpipe, or even a dedicated drain line.
The connection typically involves a hose and sometimes a small pump if the drain is higher than the ice maker. This is where the Ice Maker Drainage Setup For Countertop Models becomes a bit more involved but ultimately more convenient.
The advantage of a continuous drain is that you don’t have to worry about emptying water. The ice maker manages its own drainage. This is great for busy households or for parties where you need a steady supply of ice.
The setup requires a bit more effort and potentially some minor modifications to your kitchen space, but the long-term convenience is significant.
Setting Up Your Ice Maker Drainage: Step-by-Step
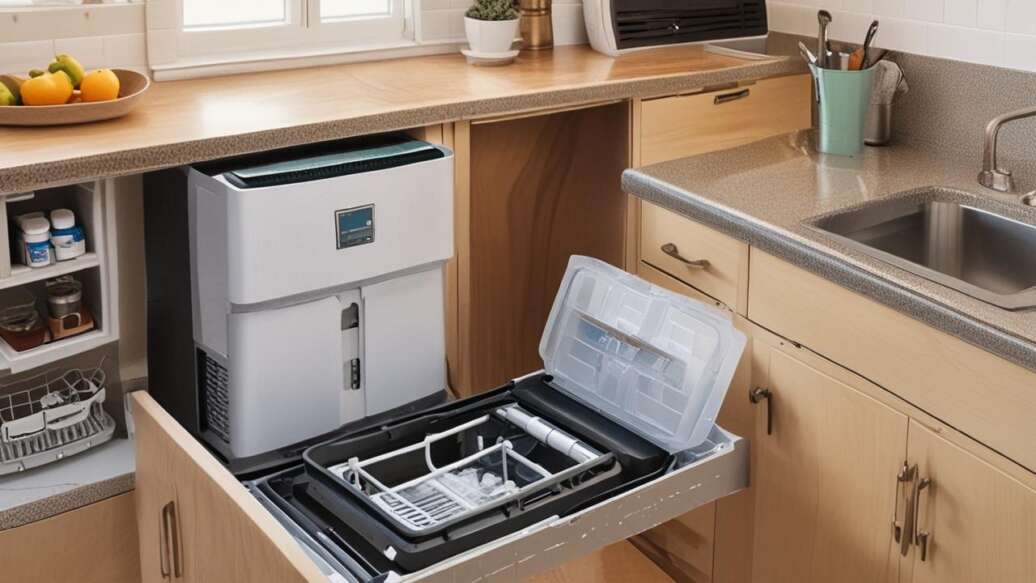
The process for setting up your ice maker’s drainage will vary slightly based on the model and the drainage method you choose. Always consult your ice maker’s user manual for specific instructions. However, here are the general steps involved for both manual and continuous drain setups.
Manual Drainage Setup
This is the easiest setup. You don’t need tools or plumbing knowledge.
- Unpack and Position: Take your ice maker out of the box and place it on a stable, level surface near a power outlet. Make sure there’s enough space around it for ventilation.
- Locate the Drain Plug/Reservoir: Refer to your manual to find where the drain plug is located. It might be on the back or the side of the unit. If it has a removable reservoir, identify that as well.
- Prepare for Draining: When it’s time to drain, have a shallow pan, bowl, or pitcher ready. Place it directly under the drain plug or where the reservoir will be emptied.
- Empty the Water: If it’s a plug, carefully remove it and let the water drain into your container. If it’s a reservoir, slide it out, take it to the sink, empty it, and then slide it back in.
- Replace the Plug: Once the old water is out, securely replace the drain plug to prevent leaks.
This routine will need to be done every few days, or whenever the ice maker indicates it’s full or needs flushing. Proper Ice Maker Drainage Setup For Countertop Models using manual methods keeps things simple and mess-free.
Continuous Drain Setup
This method requires a bit more planning and possibly some basic DIY skills. It’s crucial to ensure a secure and leak-proof connection.
Option 1: Draining into a Sink
This is a common and relatively easy way to set up continuous drainage.
Check your ice maker model's specifications to see if it supports continuous drainage before deciding on the setup.
- Position the Ice Maker: Place your ice maker on the counter. Ensure it’s close enough to your sink for the drain hose to reach comfortably.
- Connect the Drain Hose: Your ice maker will come with a drain hose. Attach one end to the drain port on the ice maker, as per your manual’s instructions.
- Route the Hose: Carefully run the other end of the drain hose towards your sink. Make sure the hose doesn’t kink or get pinched, as this can stop water flow.
- Secure the Hose: The end of the hose needs to be secured in the sink so it doesn’t pop out when water is draining. You can use a hose clamp, a zip tie, or even a small weight to hold it in place. Ensure the hose end is lower than the ice maker to allow gravity to help with drainage.
- Test the Drainage: Run the ice maker through a cycle or manually initiate a drain if your model allows. Check for any leaks at the connection points and ensure water flows freely into the sink.
This setup is very effective for managing water. A well-executed Ice Maker Drainage Setup For Countertop Models into a sink is a great choice for many kitchens.
Option 2: Using a Drain Pump
Sometimes, the drain location (like a sink drain) might be higher than your ice maker, or you might not have a convenient sink nearby. In these cases, a drain pump is necessary.
- Install the Drain Pump: Connect the drain hose from your ice maker to the inlet of the drain pump. Then, connect a separate, longer hose from the pump’s outlet to your chosen drain point (e.g., a standpipe, a drain under the sink, or even a wall drain).
- Position the Pump: Place the pump in a stable location, usually below the ice maker, to allow gravity to assist in getting water to the pump.
- Connect Power: The drain pump will need its own power source. Plug it in and ensure it’s safe from water splashes.
- Route and Secure Hoses: Make sure all hoses are properly connected, secured, and free from kinks. The outlet hose should lead directly to the drain.
- Test the System: Run a test cycle. The pump will activate when water needs to be drained, pushing it to the higher drain point. Check all connections for leaks.
Using a drain pump offers more flexibility for your Ice Maker Drainage Setup For Countertop Models, allowing you to place the ice maker further from a direct drain.
Option 3: Connecting to Existing Plumbing
This method offers the most integrated and discreet solution but often requires more advanced DIY skills or professional help.
- Identify a Drain Point: Find a suitable drain pipe, usually under the sink or a nearby standpipe. You’ll need to tap into this pipe.
- Install a Drain Tee or Adapter: This involves cutting into the existing drain pipe and installing a special fitting (like a drain tee or an adapter) that allows you to connect the ice maker’s drain hose. This is often the most challenging part and may require shutting off your water supply.
- Connect the Drain Hose: Attach the ice maker’s drain hose to the new fitting. Ensure a tight, leak-proof seal.
- Route and Secure: Run the hose neatly from the ice maker to the plumbing connection. Keep it out of the way and prevent it from being pinched.
- Test Thoroughly: After completing the connection, run the ice maker through several cycles. Check the connection point and surrounding areas for any signs of leaks.
This type of integrated Ice Maker Drainage Setup For Countertop Models looks very clean and is highly effective. If you’re not comfortable with plumbing, it’s best to hire a plumber for this task.
Choosing the Right Drainage Method for You
Deciding on the best drainage setup for your countertop ice maker involves considering a few factors. Your lifestyle, kitchen layout, and the ice maker model itself all play a role.
Consider Your Ice Maker Model
Some countertop ice makers are designed specifically for manual draining and don’t have a port for a continuous drain. Others will explicitly state that they can be plumbed for continuous drainage. Always check your model’s specifications and user manual before you start.
If your model only supports manual draining, you’ll need to be prepared for the routine of emptying the water. If it has the option for continuous drainage, you can then decide if the extra effort of setting it up is worth the convenience.
Evaluate Your Kitchen Layout
Where do you plan to put your ice maker? Is it right next to a sink? Is there a convenient drainpipe nearby?
Regular maintenance of the drain area is crucial to prevent clogs from mineral deposits and ensure hygienic operation.
If your ice maker is far from any drain, a manual setup or a system with a drain pump might be your only options.
If you have easy access to a sink or plumbing, a continuous drain setup becomes much more feasible. Think about how the drain hose will be routed and if it will be an obstruction or an eyesore. For a clean look, integrating with existing plumbing is ideal, but it’s also the most complex.
Think About Your Usage Habits
How often do you plan to use the ice maker? If it’s for occasional use, perhaps for entertaining, manual draining is perfectly fine. You can simply drain it after you’re done using it.
If you plan to use it daily and want a constant supply of ice, a continuous drain setup will save you a lot of effort. It means the ice maker can keep producing ice without you having to constantly monitor and empty water.
Maintenance Tips for Your Ice Maker Drainage
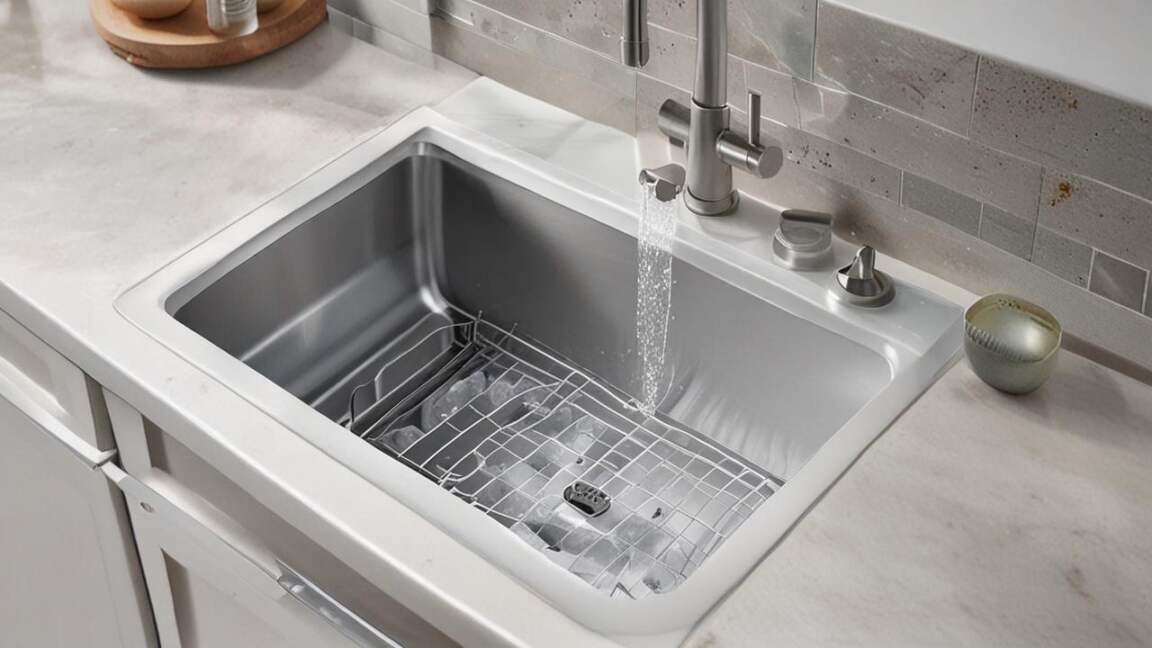
Once you have your drainage set up, whether manual or continuous, regular maintenance is important. This ensures your ice maker continues to run smoothly and hygienically.
Cleaning the Drain Area
Over time, mineral deposits or even small bits of ice can build up in the drain port or the collection reservoir. This can lead to clogs or affect drainage efficiency. Periodically clean these areas with a soft brush and a mild soap-and-water solution.
Rinse thoroughly.
Checking for Leaks
Especially with continuous drain setups, it’s crucial to regularly check all connections for leaks. Even a small drip can cause damage over time. If you notice any moisture, tighten the connections or replace any worn-out seals or hoses.
If your ice maker isn't draining, check for a clogged port or kinked hose, and ensure the drain plug is removed correctly for manual models.
Descaling Your Ice Maker
Minerals in your water can build up inside the ice maker, including in the drainage system. This is called scaling. Most manufacturers recommend descaling your ice maker every few months using a descaling solution.
This process often involves running water through the machine, which will also help flush out the drainage system.
A clean drainage system is a vital part of good Ice Maker Drainage Setup For Countertop Models. It ensures your ice is pure and your machine works efficiently.
Troubleshooting Common Drainage Issues
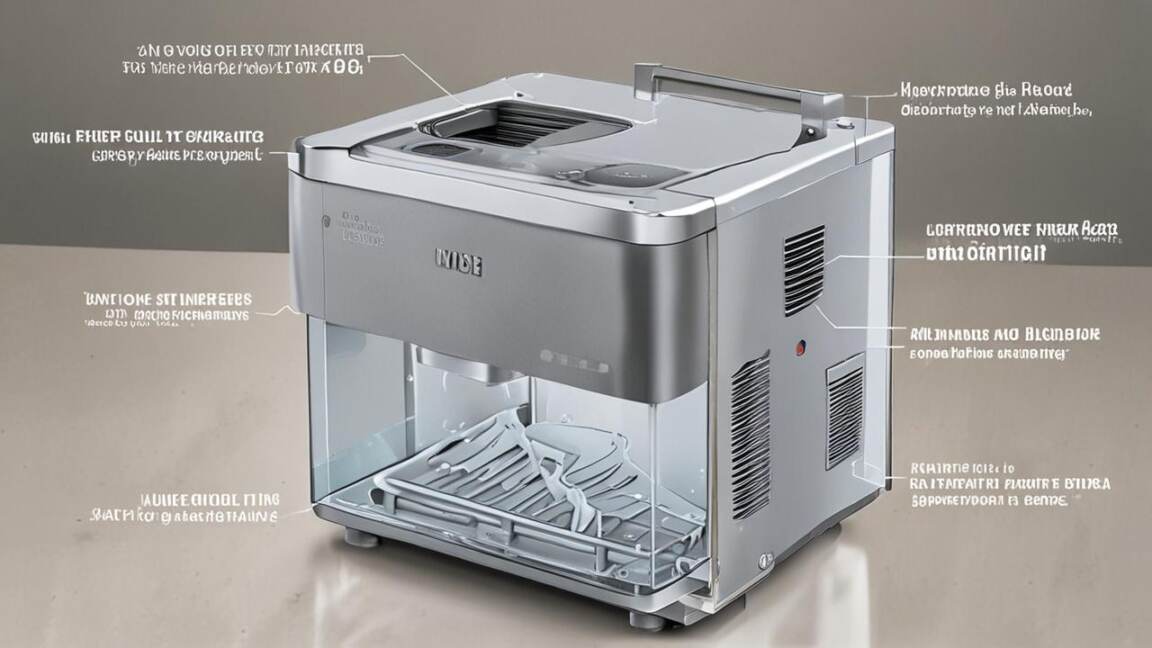
Even with a perfect setup, you might encounter a few drainage problems. Here are some common issues and how to fix them.
Ice Maker Not Draining
Cause: A clogged drain port, kinked hose, or a faulty drain pump (if applicable).
Solution: Check the drain port for blockages and clear them. Ensure the drain hose is not kinked or bent sharply. If you have a pump, check if it’s running and if the intake is clear.
For manual draining, ensure the plug is removed correctly.
Manual drainage is ideal for occasional use and simple setups, requiring no additional plumbing or tools.
Water Leaking from Connections
Cause: Loose hose clamps, damaged seals, or improperly fitted connections.
Solution: Tighten all hose clamps. Inspect seals and O-rings for damage and replace them if necessary. Ensure hoses are pushed fully onto their fittings.
Slow Drainage
Cause: Partial clog in the drain line or hose, or the drain pump is struggling.
Solution: Try running a descaling solution through the ice maker to help break down mineral buildup in the drain line. Ensure the drain hose has a consistent downward slope if gravity is being used. If using a pump, check its performance.
Addressing these issues promptly will help maintain your Ice Maker Drainage Setup For Countertop Models and keep your ice maker in top shape.
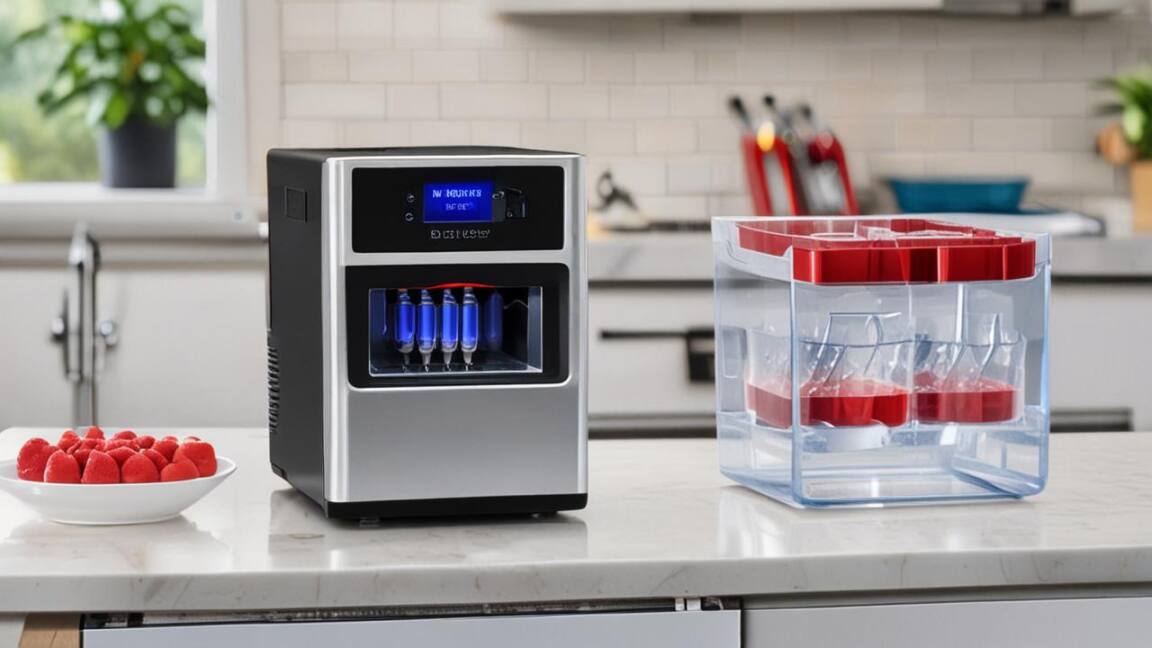
Comparison: Manual vs. Continuous Drainage
Choosing between manual and continuous drainage is a key decision for your Ice Maker Drainage Setup For Countertop Models. Here’s a quick comparison to help you decide.
Frequently Asked Questions
Do all countertop ice makers need a drain setup?
Yes, all ice makers produce water from melted ice or flushing cycles that needs to go somewhere. Some are designed for manual emptying, while others can be plumbed for continuous drainage.
Can I just let the water drain onto the counter?
No, this is not recommended. It will create a mess, can damage your countertops and cabinets, and may lead to mold or mildew.
How often do I need to drain a manual ice maker?
This depends on the model and how much ice you make. Check your ice maker’s indicator or drain reservoir every day or two, or as recommended in your manual.
Is it difficult to set up a continuous drain for my ice maker?
It can range from easy (hose into a sink) to more complex (tapping into plumbing or using a pump). Always refer to your ice maker’s manual and consider your DIY comfort level.
What if my ice maker doesn’t have a drain port for continuous drainage?
If your model doesn’t have a dedicated drain port, it’s designed for manual draining only. You cannot add a continuous drain to a unit not designed for it.
Can I use a drain hose that’s too long for my ice maker?
Using a hose that is excessively long or has too many bends can impede drainage. Ensure the hose is the appropriate length and routed as smoothly as possible for efficient water flow.
How do I clean a clogged drain line on my countertop ice maker?
You can try running a descaling solution through the ice maker, which may help break down mineral deposits. For persistent clogs, you might need to disconnect the hose and clear it manually or use a small, flexible brush.
Final Thoughts
Setting up your ice maker drainage correctly is simple when you know the options. Whether you choose easy manual emptying or a convenient continuous drain, a well-planned Ice Maker Drainage Setup For Countertop Models prevents messes and keeps your appliance working great. Take a few minutes to understand your model and choose the method that best fits your kitchen and lifestyle.