How To Clean A Countertop Ice Maker (Monthly Routine)
At a Glance To clean a countertop ice maker monthly, unplug the unit, empty the ice and water reservoir, and remove all detachable parts including the ice basket, water tray, and filter. Clean the int…
To clean a countertop ice maker monthly, unplug the unit, empty the ice and water reservoir, and remove all detachable parts including the ice basket, water tray, and filter. Clean the interior and these components with a solution of white vinegar and warm water to dissolve mineral deposits and eliminate bacteria growth. Rinse every part thoroughly with fresh water and dry completely with a clean cloth to avoid any lingering vinegar taste or residue. This routine maintains fresh ice, prevents mold and scale buildup, and extends the appliance's lifespan through simple consistent care.
Keeping your countertop ice maker sparkling clean is easier than you think. A little regular care ensures your ice tastes fresh and your machine runs smoothly for longer. You’ll avoid funky smells and build-up that can affect performance.
Following a simple How To Clean A Countertop Ice Maker (Monthly Routine) will give you peace of mind and better ice. Let’s look at what you need to do to keep it in tip-top shape.
Key Takeaways
- Regular cleaning prevents mold and bacteria growth.
- A clean ice maker produces better-tasting ice.
- Monthly cleaning extends the lifespan of your appliance.
- Simple steps involve unplugging, emptying, and cleaning with a mild solution.
- Rinsing and drying thoroughly are crucial for a fresh finish.
Why A Clean Ice Maker Matters For Your Ice
Imagine reaching for a refreshing drink and getting ice that tastes off. That’s not what you want! A countertop ice maker is a great convenience, but if it’s not cleaned, it can become a breeding ground for mold, mildew, and bacteria.
This doesn’t just affect the taste of your ice; it can also lead to unpleasant odors. Regularly cleaning your ice maker ensures that every piece of ice you make is pure and refreshing. It’s a simple way to guarantee the quality of your drinks and the health of your appliance.
Having mild dish soap, white vinegar, and soft cloths ready before you start ensures an uninterrupted cleaning process.
Regular cleaning prevents mold and bacteria buildup, keeping your ice tasting fresh and your appliance running smoothly.
Understanding How To Clean A Countertop Ice Maker (Monthly Routine) is key to enjoying crisp, clean ice all year round. Beyond taste, a clean machine works more efficiently. When parts are free of mineral deposits and grime, they can function as intended.
This means your ice maker can produce ice faster and more reliably. It also helps prevent clogs and other issues that can shorten the life of your appliance. A little effort now saves you trouble later.
Gathering Your Cleaning Supplies
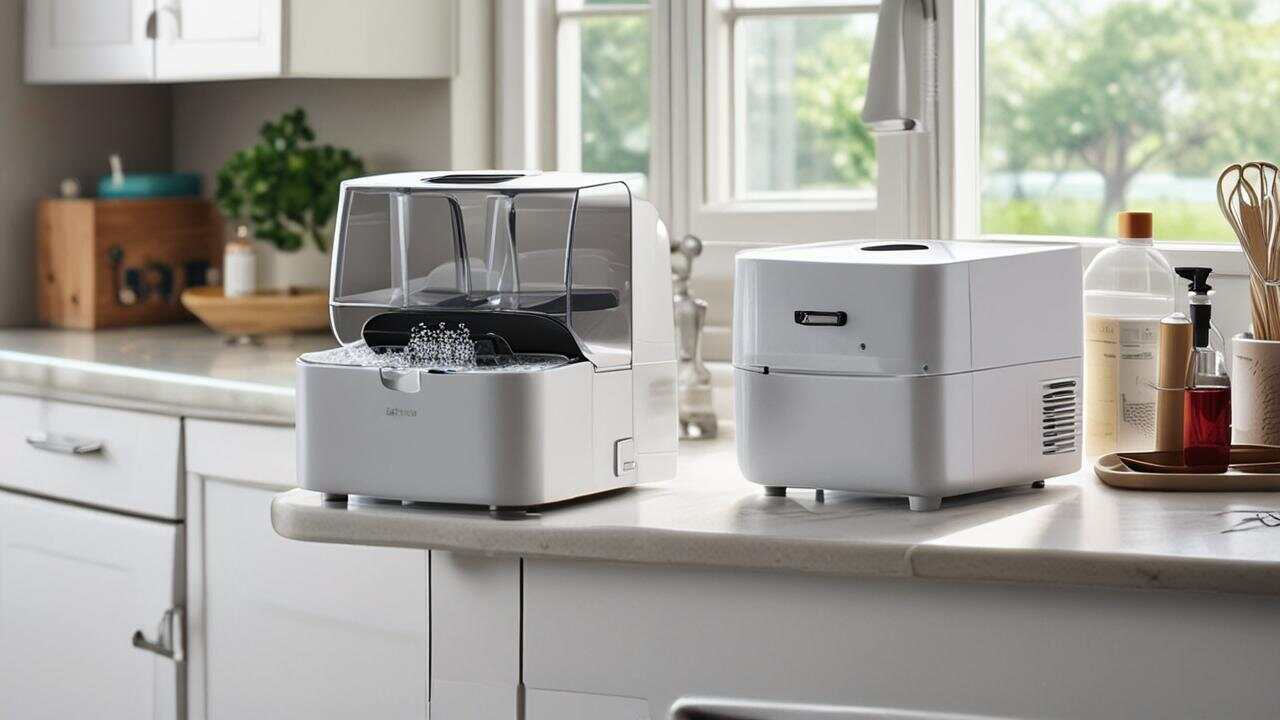
Before you start, make sure you have everything you need. This makes the process smooth and efficient. You don’t want to be halfway through and realize you’re missing something important.
Following a clear routine covers all critical areas of your countertop ice maker for a thorough clean.
Having your supplies ready means you can tackle the job without interruption.
Essential Cleaning Items
- Mild dish soap: For general cleaning of the exterior and removable parts.
- White vinegar: Excellent for breaking down mineral deposits and sanitizing.
- Clean cloths or sponges: Soft ones are best to avoid scratching surfaces.
- Soft brush: A small, soft-bristled brush can help get into nooks and crannies.
- Clean water: For rinsing thoroughly.
- Towel or paper towels: For drying the ice maker completely.
Having these items on hand means you are prepared for a thorough cleaning. It’s important to use mild cleaning agents. Harsh chemicals can damage the plastic parts of your ice maker or leave a residue that affects the ice taste.
Stick to simple, food-safe cleaners.
Step-By-Step Guide To Cleaning Your Ice Maker
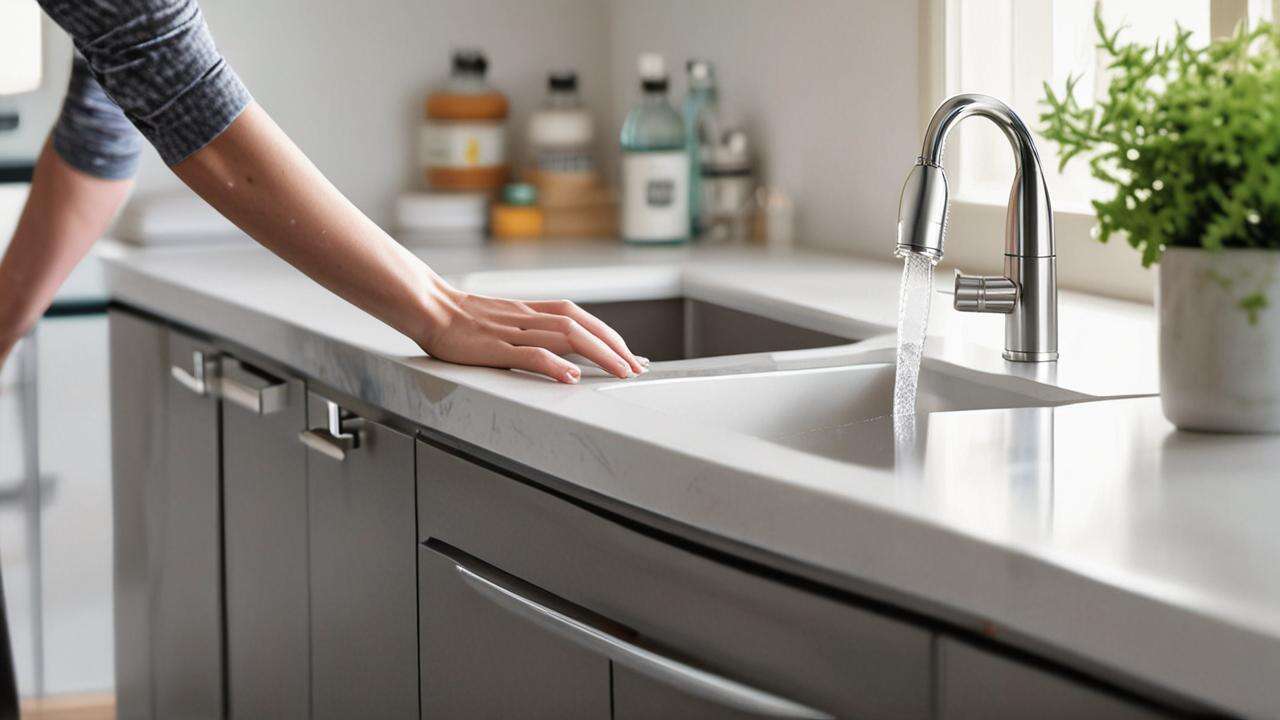
Following a clear set of steps makes sure you don’t miss anything. This routine is designed to be simple and effective. It covers all the important areas of your countertop ice maker to ensure it’s spotless.
Step 1: Safety First – Unplug and Empty
First, always unplug your ice maker from the power outlet. This is a crucial safety step. You don’t want any electrical accidents.
Next, remove any ice that is currently in the ice bin. You can discard this ice or use it right away. Empty out any standing water from the ice bin and the water reservoir.
Make sure to get as much water out as possible.
Step 2: Disassemble Removable Parts
Many countertop ice makers have removable parts like the ice bin, ice basket, or water scoop. Carefully remove these parts according to your ice maker’s manual. This allows you to clean these components thoroughly and access all areas of the machine.
Step 3: Cleaning the Interior and Removable Parts
Then, prepare a cleaning solution. A good mix is one part white vinegar to two parts water. You can also use a mild dish soap and water solution for less stubborn grime.
Use a soft cloth or sponge dipped in this solution to wipe down the inside of the ice maker, including the water reservoir and the ice chute. For removable parts, you can wash them in your sink with warm, soapy water. A soft brush can help scrub away any build-up.
For hard water mineral buildup, let a 50/50 vinegar and water solution sit in the reservoir for 30 minutes before rinsing.
Pay close attention to areas where water sits or where ice forms. These are the spots most likely to develop mineral deposits or mildew. If you notice hard water stains, the vinegar solution is particularly effective at dissolving them.
Ensure you reach all corners and crevices. This thoroughness is part of a good How To Clean A Countertop Ice Maker (Monthly Routine).
Step 4: Cleaning the Exterior
While the interior is being cleaned, take a moment to wipe down the outside of your ice maker. Use a damp cloth with a little mild soap. This keeps the entire appliance looking good.
Avoid getting excess water into any vents or electrical components on the exterior.
Step 5: Rinsing is Key
After cleaning, it’s vital to rinse everything thoroughly. Use a clean, damp cloth to wipe away any soap or vinegar residue from the interior and exterior. For removable parts, rinse them well under running water.
Any leftover cleaning solution can affect the taste of your ice, so don’t skip this step. Make sure all surfaces are free of any cleaning agent.
Step 6: Drying and Reassembly
Finally, dry all parts completely with a clean towel or paper towels. Moisture left behind can encourage mold and mildew growth, defeating the purpose of cleaning. Ensure the ice maker’s interior is also dry.
Once everything is dry, reassemble the removable parts. It’s a good idea to let the ice maker air dry for a bit longer before plugging it back in.
Dealing with Tough Stains and Odors
Sometimes, despite regular cleaning, you might encounter stubborn stains or persistent odors. Mineral deposits from hard water can be particularly tricky. Vinegar is your best friend here, but you might need to let it sit for a while.
Tackling Mineral Buildup
If you have hard water, mineral scale can build up inside your ice maker. This looks like white, chalky deposits. To tackle this, you can run a cycle with a stronger vinegar solution.
Fill the water reservoir with a 50/50 mix of white vinegar and water. Let it run through a cycle. Then, let the solution sit in the reservoir for about 30 minutes before draining and rinsing thoroughly.
Setting a monthly reminder on your calendar prevents neglect, making cleaning a simple habit rather than a chore.
This deeper clean is an important part of How To Clean A Countertop Ice Maker (Monthly Routine) for those with hard water.
Eliminating Unpleasant Odors
Odors are usually caused by mold or bacteria. Thorough cleaning with vinegar often solves this. If the smell lingers, try leaving a small open box of baking soda inside the ice maker (while unplugged and dry) for a day or two.
Baking soda is a natural odor absorber. Ensure the machine is completely dry before use after any odor-elimination steps.
Making Ice Maker Cleaning a Habit
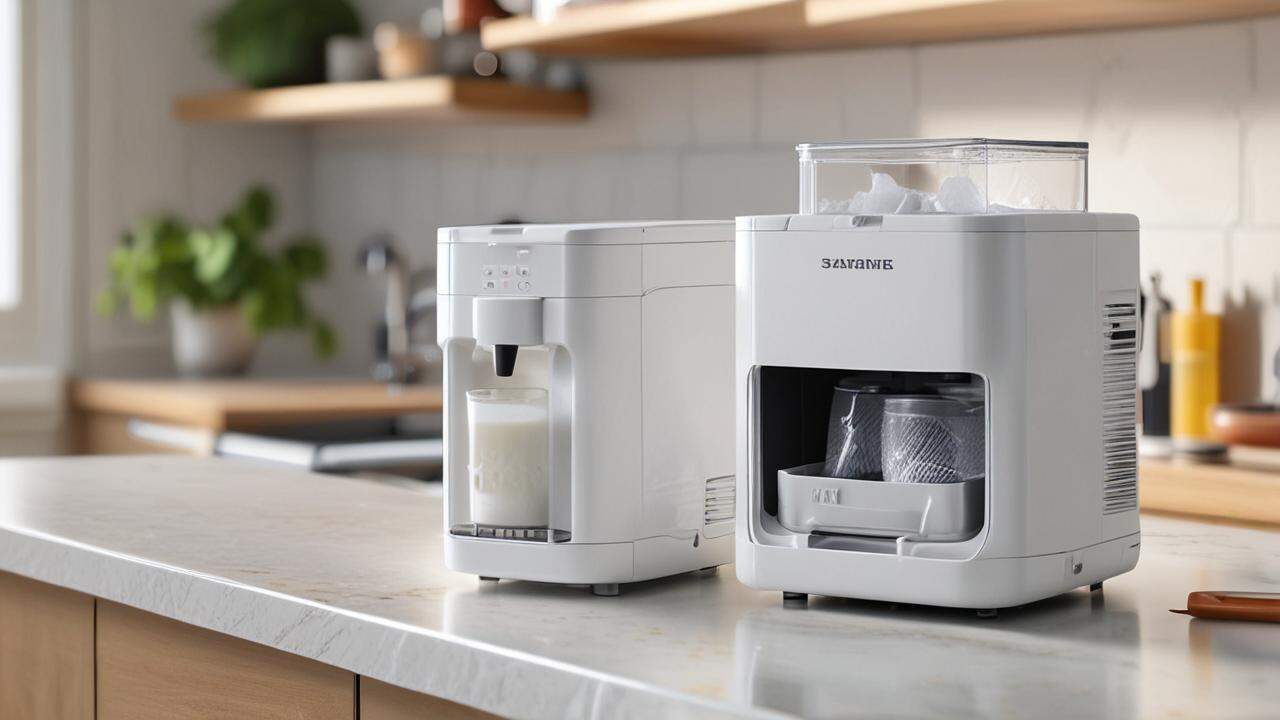
Consistency is key to maintaining a clean and functional ice maker. Turning cleaning into a routine makes it less of a chore and more of a habit. This ensures your ice maker is always ready to produce clean ice.
Creating Your Monthly Schedule
Set a reminder on your phone or calendar for the first weekend of each month. This simple prompt will help you remember to perform the cleaning. Think of it as a quick check-up for your appliance.
White vinegar is a natural, food-safe, and cost-effective option, while commercial cleaners offer stronger formulations for stubborn deposits.
A quick clean once a month is far easier than dealing with a heavily soiled machine later.
Benefits of Regular Maintenance
By sticking to your How To Clean A Countertop Ice Maker (Monthly Routine), you gain several benefits. Your ice will always taste fresh and clean. You’ll reduce the risk of costly repairs caused by mineral buildup or component damage.
The overall lifespan of your ice maker will likely increase. Plus, you’ll avoid the embarrassment of serving guests ice that has an off-putting smell or taste.
Comparing Cleaning Methods: Vinegar vs. Commercial Cleaners
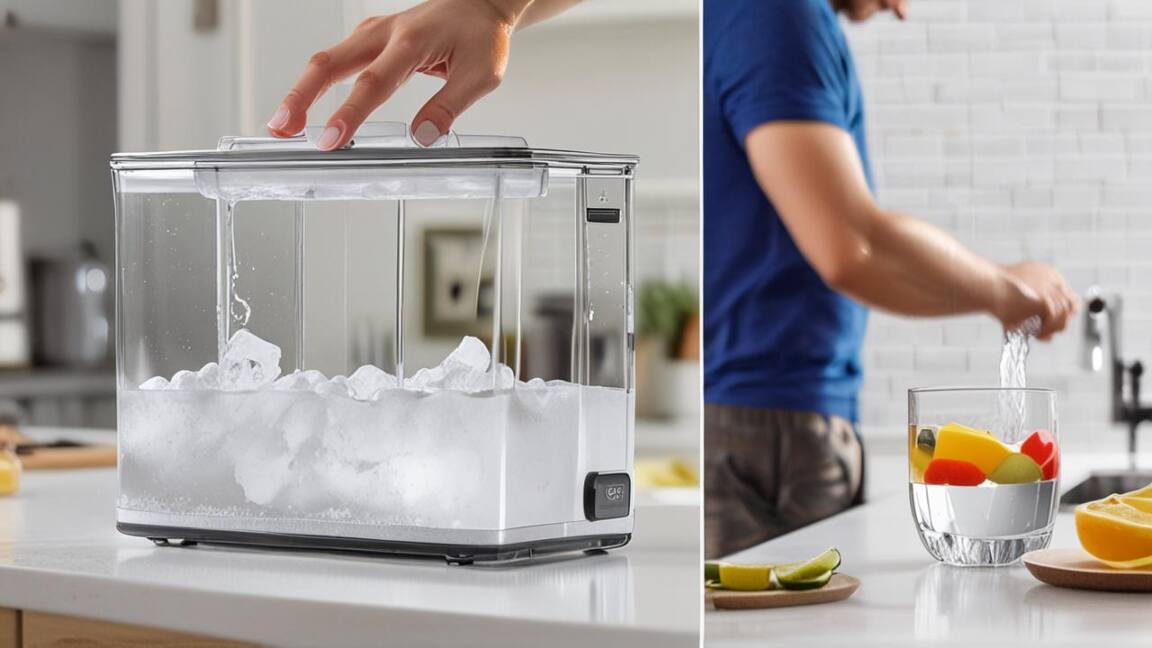
When it comes to cleaning your ice maker, you have a few options. White vinegar is a popular choice because it’s natural, inexpensive, and effective. Commercial ice maker cleaners are also available.
A simple defrost by unplugging for a few hours can resolve minor freeze-ups that stop ice production.
For most users, a monthly routine using white vinegar is perfectly sufficient for maintaining a clean ice maker. Commercial cleaners might be useful for very heavy build-up or specific cleaning needs recommended by the manufacturer. Always check your ice maker’s manual for any specific cleaning recommendations or warnings.
Troubleshooting Common Ice Maker Issues
Even with regular cleaning, you might encounter occasional problems. Knowing how to troubleshoot can save you time and frustration.
Ice Maker Not Producing Ice
If your ice maker stops producing ice, check a few things. Ensure it’s plugged in and turned on. Check the water level in the reservoir; it might be too low.
Make sure the ice bin isn’t full, which can trigger a sensor to stop production. Also, check for any ice jams in the mechanism. Sometimes, a simple defrosting (unplugging for a few hours) can help if there’s a minor freeze-up.
Ice Tastes or Smells Bad
This is almost always a sign that cleaning is needed. Even if you think it’s clean, perform a thorough cleaning as outlined in this guide. Pay special attention to the water reservoir and ice bin.
Ensure no food particles or residues are left behind. If the problem persists after cleaning, the water source itself might be the issue.
Water Leaking
If you notice water leaking from your ice maker, first unplug the unit. Check if the water reservoir is cracked or if the seals on the water line are loose. Sometimes, overfilling the water reservoir can cause overflow.
Ensure all removable parts are seated correctly after cleaning and reassembly.
Frequently Asked Questions
How often should I really clean my countertop ice maker?
For optimal performance and ice quality, a How To Clean A Countertop Ice Maker (Monthly Routine) is recommended. If you use it heavily or have hard water, you might need to clean it more often, perhaps every two weeks.
Can I use bleach to clean my ice maker?
No, it’s generally not recommended to use bleach or harsh chemicals like ammonia. These can damage the plastic components and leave behind residues that are unsafe for consumption and can affect ice taste. Stick to mild soap and white vinegar.
What if my ice maker manual says not to use vinegar?
Always follow your manufacturer’s specific instructions. If vinegar is not recommended, look for a specialized ice maker cleaning solution recommended by the brand. Some manufacturers might suggest a diluted bleach solution for specific parts, but always check your manual first.
My ice maker is making strange noises. What could it be?
Strange noises can indicate a few things. It might be ice cubes hitting the fan or auger, which is normal. However, grinding or loud humming could signal a motor issue or a blockage.
Ensure the machine is level and that no foreign objects are inside. A thorough cleaning can sometimes resolve noise issues caused by build-up.
How do I descale my ice maker if it has hard water stains?
To descale, use a solution of equal parts white vinegar and water. Fill the reservoir with this solution and run it through a cleaning cycle. Let it sit for about 30 minutes before draining and rinsing thoroughly.
Repeat if necessary for stubborn stains. This is a key part of How To Clean A Countertop Ice Maker (Monthly Routine) for users with hard water.
Is it okay to leave water in the reservoir when not in use?
It’s best to empty the water reservoir and dry the ice maker when you know you won’t be using it for an extended period, like on vacation. Leaving water in the reservoir can lead to stale water, odors, or even mold growth.
Final Thoughts
Keeping your ice maker clean is simple with a monthly routine. Following these steps ensures fresh-tasting ice and a longer-lasting appliance. A clean ice maker means better drinks and fewer worries.