How A Countertop Ice Maker Works (Step-By-Step)
At a Glance A countertop ice maker operates by drawing water from its built-in reservoir into an ice mold, where a refrigeration system rapidly freezes the water into various ice shapes. Once thorough…
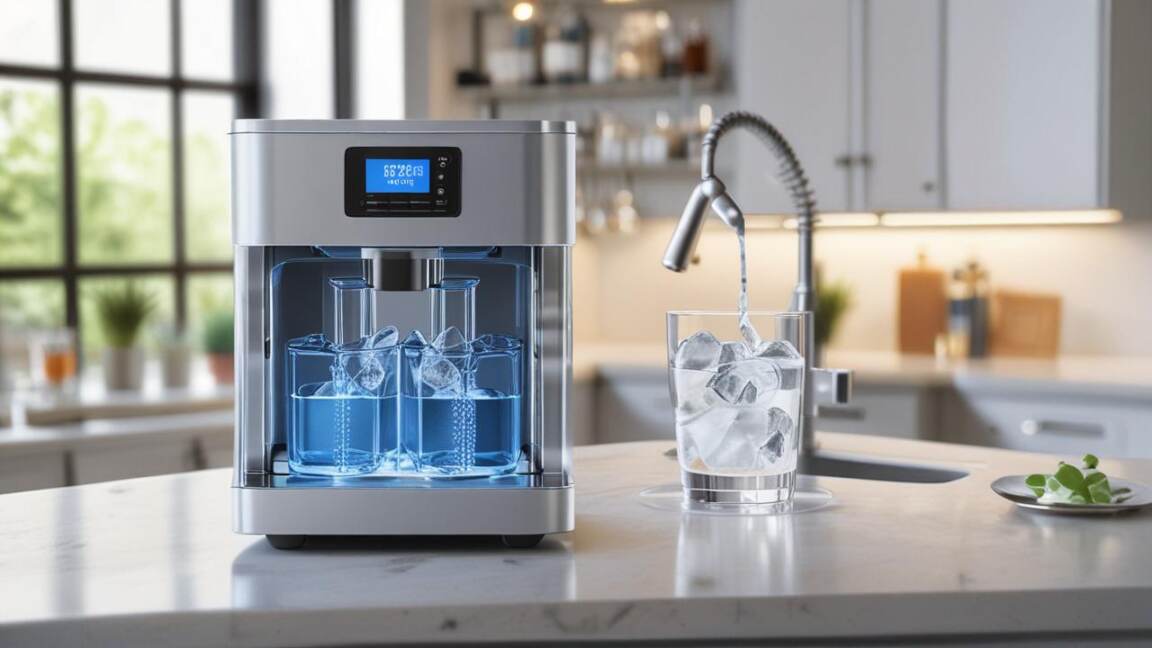
A countertop ice maker operates by drawing water from its built-in reservoir into an ice mold, where a refrigeration system rapidly freezes the water into various ice shapes. Once thoroughly frozen, the machine applies mild heat to the mold to loosen the ice, allowing the cubes to release and fall into the storage bin below. The ice bin sensor continuously monitors the level, automatically stopping production as soon as the bin is full to prevent overflow. Recognizing this automated freeze-and-release cycle is essential for troubleshooting issues like slow ice production or sensor failure and for ensuring long-term reliable operation.
Getting ice whenever you want it without constantly refilling trays is a great convenience. If you’ve ever wondered about the magic behind those handy machines sitting on your kitchen counter, you’re in the right place. Understanding How A Countertop Ice Maker Works (Step-By-Step) can help you appreciate the technology and even troubleshoot minor issues.
We’ll walk you through the whole process, showing you exactly what happens from adding water to getting perfectly formed ice cubes. This knowledge will help you get the most out of your ice maker and ensure it runs smoothly for years to come.
Key Takeaways
- Water is drawn from the reservoir and sent to the ice-making mechanism.
- The ice maker uses a cooling system to freeze the water into ice.
- Ice is formed in specific shapes, often by dripping water over a mold or through a series of tubes.
- Once frozen, the ice is released from its mold and drops into a storage bin.
- A sensor monitors the ice level in the bin and stops the process when it’s full.
The Journey of Water: From Reservoir to Ice Mold
The process begins with you filling the water reservoir. This is usually a removable tank or a direct water line connection. First, the machine needs a water supply to make ice.
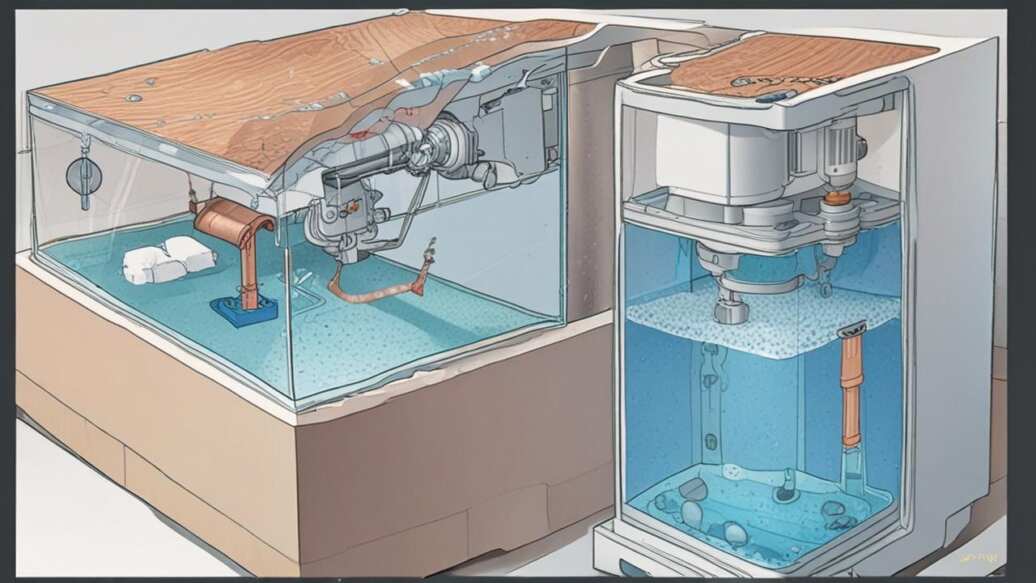
A small pump activates to draw water from the reservoir. This water is then pushed through a series of tubes. These tubes lead to the ice-making part of the machine.
For best performance and ice taste, always use filtered water in your countertop ice maker to reduce mineral buildup that can clog the system.
It’s a simple transfer, but crucial for starting the cycle.
The quality of the water you use matters. Using filtered water can help prevent mineral buildup inside your ice maker. This buildup can affect performance and the taste of your ice.
So, if your machine has a filter, make sure to replace it as recommended. This simple step ensures cleaner ice and a happier ice maker.
How Water Freezes into Ice
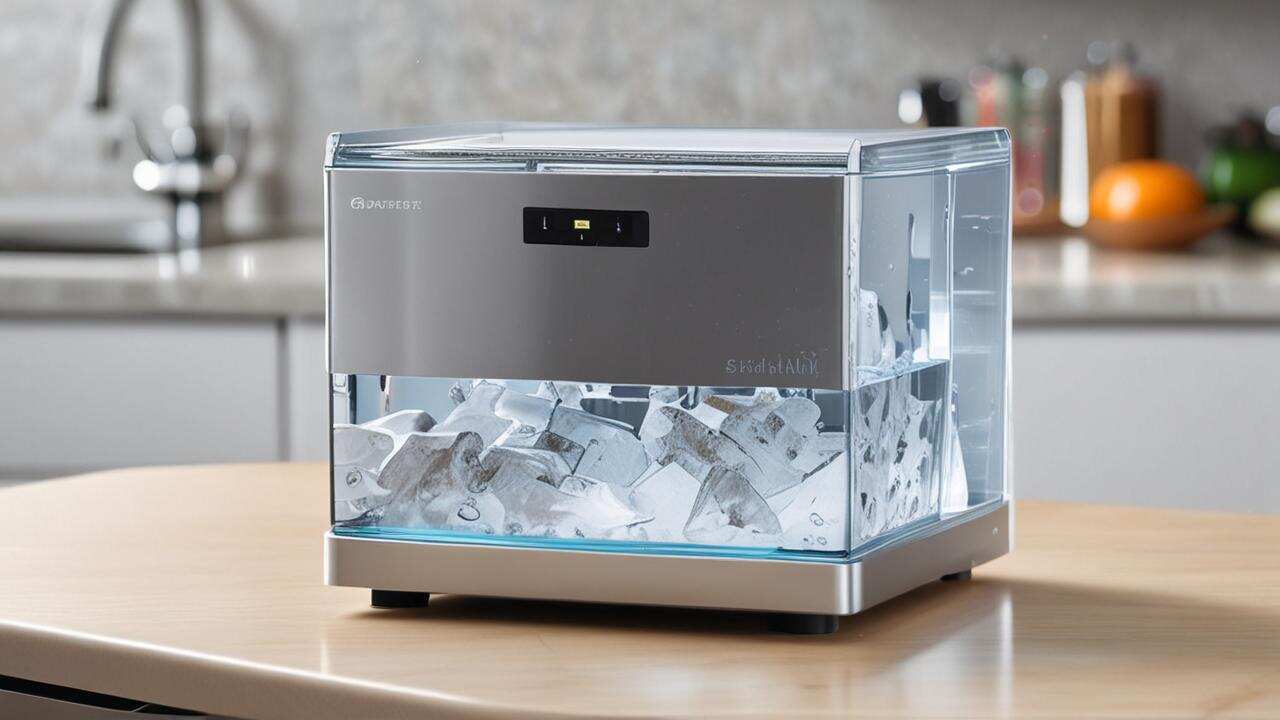
This is where the cooling system kicks in. Countertop ice makers use a refrigeration cycle, similar to a small refrigerator. A refrigerant circulates through a series of coils.
These coils get very cold. The cold coils are placed in contact with the water. This contact rapidly chills the water.
It’s the core of How A Countertop Ice Maker Works (Step-By-Step).
There are a couple of common methods for forming ice. Some machines use a series of metal or plastic molds. Water flows over these molds, and the cold coils chill them from the outside.
The rapid freezing process in countertop ice makers relies on refrigerant circulating through cold coils that directly contact water or molds, enabling ice formation in minutes.
Other designs use a system of tubes where water drips down. The cold coils surround these tubes. In both cases, the water gradually freezes onto the cold surfaces.
The shape of the mold or tube determines the shape of your ice cube.
Different Ice Shapes Explained
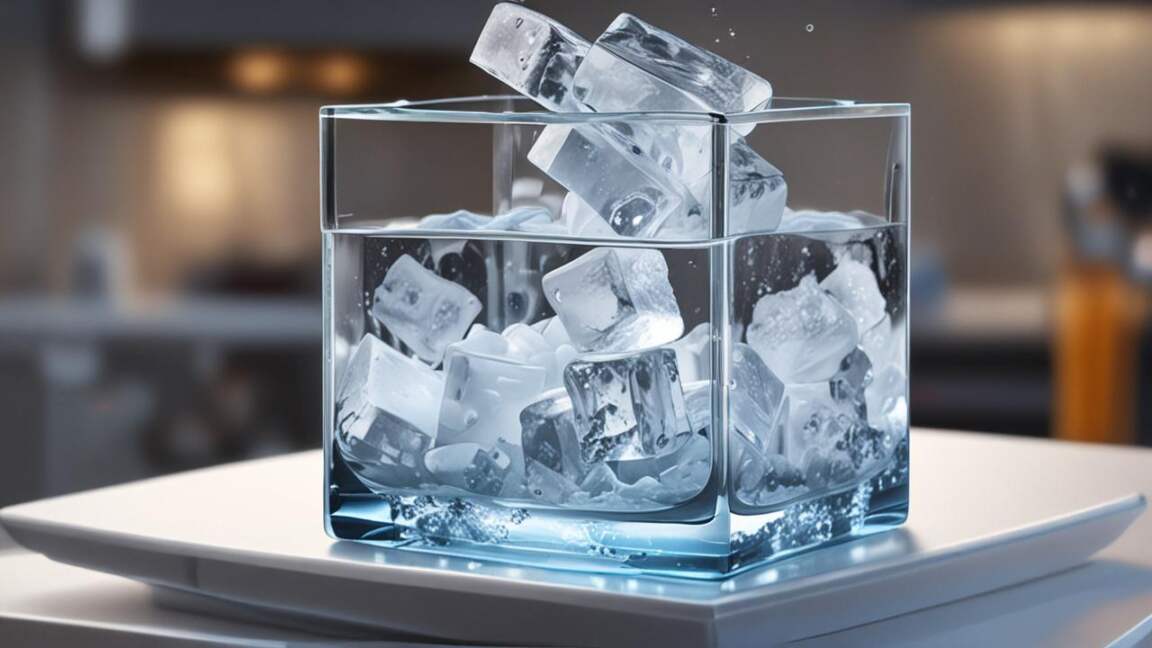
You’ll notice that countertop ice makers often produce unique ice shapes. Many create hollow, C-shaped cubes. This is common because the ice forms around a hollow tube or mold.
This shape allows for faster freezing and easy ejection. Other machines might produce smaller, nugget-style ice, which is softer and chewable. Some even make round ice balls.
The design of the ice-making plates or molds dictates the final appearance of your ice.
Releasing the Ice: From Mold to Bin
Once the ice cubes are formed and frozen to the right thickness, they need to be released. This is a clever part of How A Countertop Ice Maker Works (Step-By-Step). The machine temporarily reverses the flow of the refrigerant.
This makes the coils that were cold become warm. This slight warming causes the ice to detach from the molds or tubes.
Next, a mechanism helps the newly freed ice cubes drop. This might be a tilting mold or a vibrator. The ice then falls into the storage bin below.
By briefly reversing the refrigerant flow, the machine gently warms the molds just enough to release the ice without melting it.
This bin is usually insulated to keep the ice frozen for a while. However, these machines are designed to make ice, not store it long-term like a freezer. So, it’s best to use the ice soon after it’s made.
The Importance of the Ice Bin Sensor
A critical component in this process is the ice bin sensor. Then, this sensor monitors how full the storage bin is. It’s typically a small arm or a light beam.
When the ice reaches a certain level, it triggers the sensor. This signal tells the ice maker to stop producing more ice. This prevents the bin from overflowing and stops the machine from wasting water and energy.
It’s a smart way to manage the ice-making cycle.
The Continuous Cycle of Ice Production
After the ice is released and the bin sensor indicates there’s space, the cycle begins again. Finally, the pump restarts, drawing more water from the reservoir. The refrigeration system cools the molds or tubes, and new ice begins to form.
This continuous process allows your countertop ice maker to keep producing ice as long as there is water and space in the bin. Understanding How A Countertop Ice Maker Works (Step-By-Step) shows this is an automated, efficient system.
To keep your ice maker running continuously, ensure the water reservoir stays filled and the ice bin has room for new cubes.
The speed at which your ice maker produces ice varies. It depends on the model, the ambient temperature, and the water temperature. Most machines can produce ice within 6 to 15 minutes of starting.
The total daily production can range from 20 to 50 pounds of ice. This is more than enough for most households.
Comparing Countertop Ice Maker Types
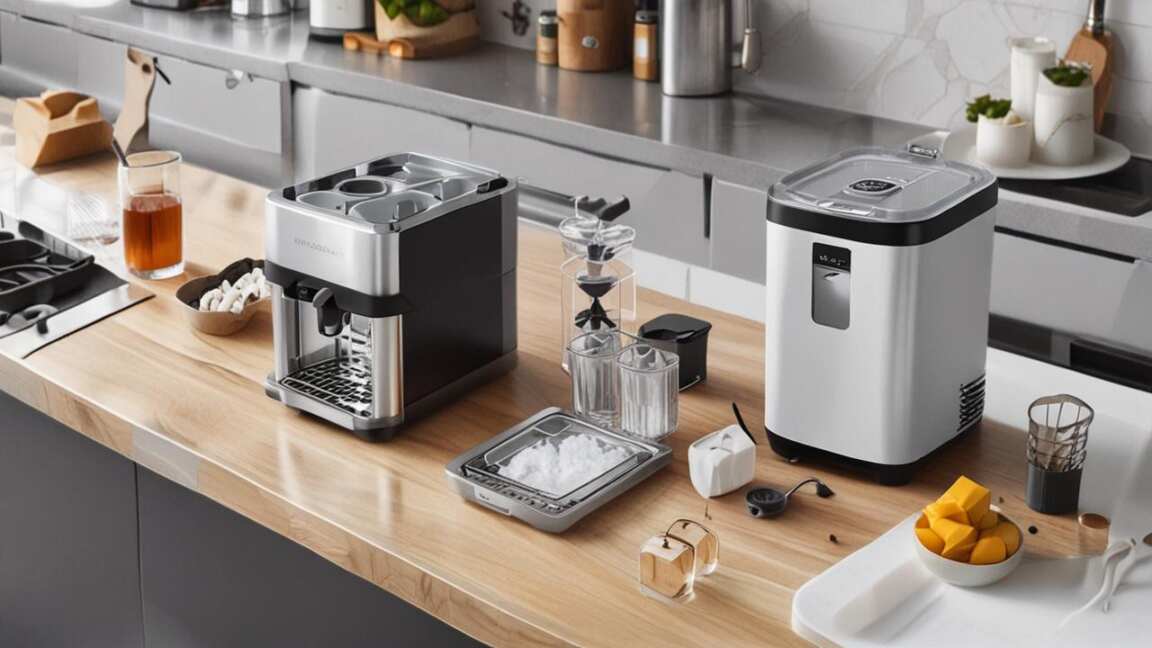
While the basic principles of How A Countertop Ice Maker Works (Step-By-Step) are similar, there are different types of countertop ice makers. Each has its own way of forming ice. Knowing the differences can help you choose the best one for your needs.
Be aware that nugget and bullet ice makers produce ice at different speeds and textures, so choose based on your preference for chewable nuggets or hard cubes.
As you can see, the type of ice maker affects the ice produced. Bullet ice makers are very common and efficient. Nugget ice makers are popular for their soft texture.
Clear ice makers are for those who want crystal-clear ice that melts slowly, making them ideal for cocktails. The internal mechanisms for freezing and releasing ice can differ slightly between these types, but the fundamental steps of How A Countertop Ice Maker Works (Step-By-Step) remain consistent.
Maintenance for Optimal Performance
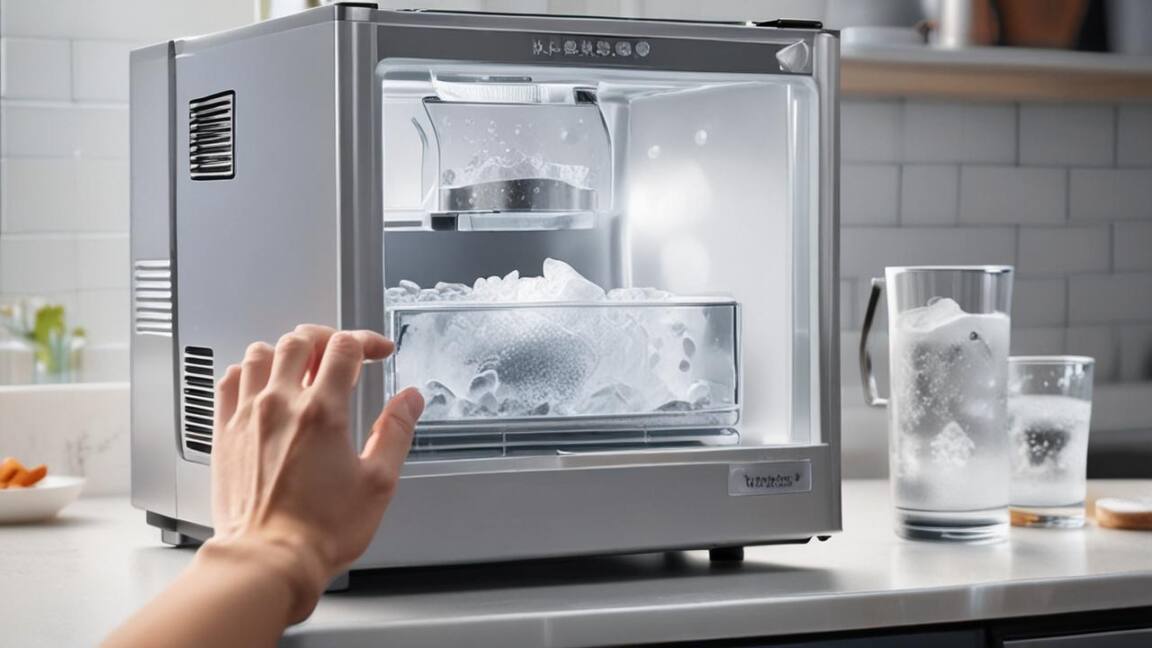
To ensure your ice maker continues to work well, regular cleaning is essential. Mineral deposits from the water can build up over time. This buildup can affect the taste of the ice and the efficiency of the machine.
Most manufacturers recommend cleaning the ice maker every few months.
Regular cleaning with a mild soap solution or dedicated ice maker cleaner every few months prevents mineral buildup and ensures efficient operation.
First, unplug the machine and empty the water reservoir and ice bin. Next, use a mild soap and water solution or a specific ice maker cleaner. Follow the manufacturer’s instructions for cleaning the interior.
Pay attention to the water lines, molds, and ice bin. Rinse thoroughly to remove any cleaning residue. Then, run a few cycles with fresh water to flush out any remaining traces of the cleaner.
This simple maintenance routine is key to understanding How A Countertop Ice Maker Works (Step-By-Step) efficiently long-term.
Troubleshooting Common Issues
Sometimes, your ice maker might not work as expected. Understanding How A Countertop Ice Maker Works (Step-By-Step) can help you diagnose simple problems.
Ice Not Forming or Slow Production
If your ice maker isn’t making ice or is producing it very slowly, check a few things.
Knowing the step-by-step ice-making process can help you quickly identify whether a problem stems from water supply, pump function, or ambient temperature.
- Water Level: Ensure the water reservoir is filled to the correct line.
- Water Pump: Listen for the pump running. If you don’t hear it, there might be a blockage or the pump has failed.
- Temperature: Make sure the ambient room temperature is not too high. Extreme heat can affect the refrigeration system’s efficiency.
- Cleanliness: A dirty machine can hinder ice production. Clean the unit thoroughly.
Ice is Melted or Clumped
If the ice is melting in the bin or forming large clumps, it might be due to a few reasons.
- Insulation: The ice bin is insulated but not a freezer. Ice will eventually melt if not used.
- Ambient Temperature: A very hot room can cause the ice to melt faster than the machine can make it.
- Sensor Issue: If the bin sensor is faulty, the machine might not know when to stop, leading to ice melting and refreezing.
Strange Noises
Some operational noises are normal, like the water pump or fan. However, loud grinding or banging noises could indicate a problem with the release mechanism or the refrigeration components. If you hear unusual noises, consult your owner’s manual or contact customer support.
Frequently Asked Questions
What is the first step in How A Countertop Ice Maker Works (Step-By-Step)?
The first step is filling the water reservoir. This provides the necessary water for the ice-making process.
How does the water get cold enough to freeze?
Countertop ice makers use a refrigeration system with cold coils that chill the water, causing it to freeze.
Why do some ice makers make hollow ice cubes?
Hollow ice cubes are often formed around hollow tubes or molds, which allows for faster freezing and easier ejection.
What role does the sensor play in How A Countertop Ice Maker Works (Step-By-Step)?
The sensor in the ice bin detects when it’s full and signals the machine to stop producing ice, preventing overflow.
How often should I clean my countertop ice maker?
It’s generally recommended to clean your ice maker every 2-3 months to ensure optimal performance and hygiene.
Can a countertop ice maker run out of ice?
Yes, if the water reservoir is empty or the ice bin is full and the sensor stops production, it will stop making ice until conditions are met.
Final Thoughts
Understanding How A Countertop Ice Maker Works (Step-By-Step) reveals a simple yet effective process of water transfer, freezing, and release. By knowing these steps, you can better appreciate your machine’s function and keep it running smoothly with basic maintenance. Enjoy your endless supply of ice!