Pour-Over Brewing Steps For Beginners (V60 Method)
At a Glance The V60 pour-over brewing method is a cone-shaped drip brewer that requires a gooseneck kettle, a paper filter, and freshly ground coffee beans, with water heated to 195–205°F. Grind size…
The V60 pour-over brewing method is a cone-shaped drip brewer that requires a gooseneck kettle, a paper filter, and freshly ground coffee beans, with water heated to 195–205°F. Grind size should be medium-fine, similar to table salt, and the bloom pour of double the coffee weight in water for 30 seconds is essential for even extraction. Following a precise four-stage pour technique yields a clean, bright cup, and adjusting grind size or water temperature allows control over bitterness and acidity.
Making a delicious cup of coffee at home can be really rewarding, especially when you nail that perfect brew. If you’ve been curious about how to get that amazing flavor from your coffee beans, understanding the right way to brew is key. We’ll walk you through the simple Pour-Over Brewing Steps For Beginners (V60 Method) so you can enjoy café-quality coffee right in your kitchen.
You’ll learn how to control the taste and aroma, making every morning a little brighter with a truly satisfying coffee experience.
Key Takeaways
- You’ll learn the basic equipment needed for V60 pour-over coffee.
- Discover the importance of water temperature and coffee grind size.
- Follow a step-by-step guide to brewing your first perfect cup.
- Understand how to adjust your brew for different flavor profiles.
- Gain confidence in making delicious pour-over coffee at home.
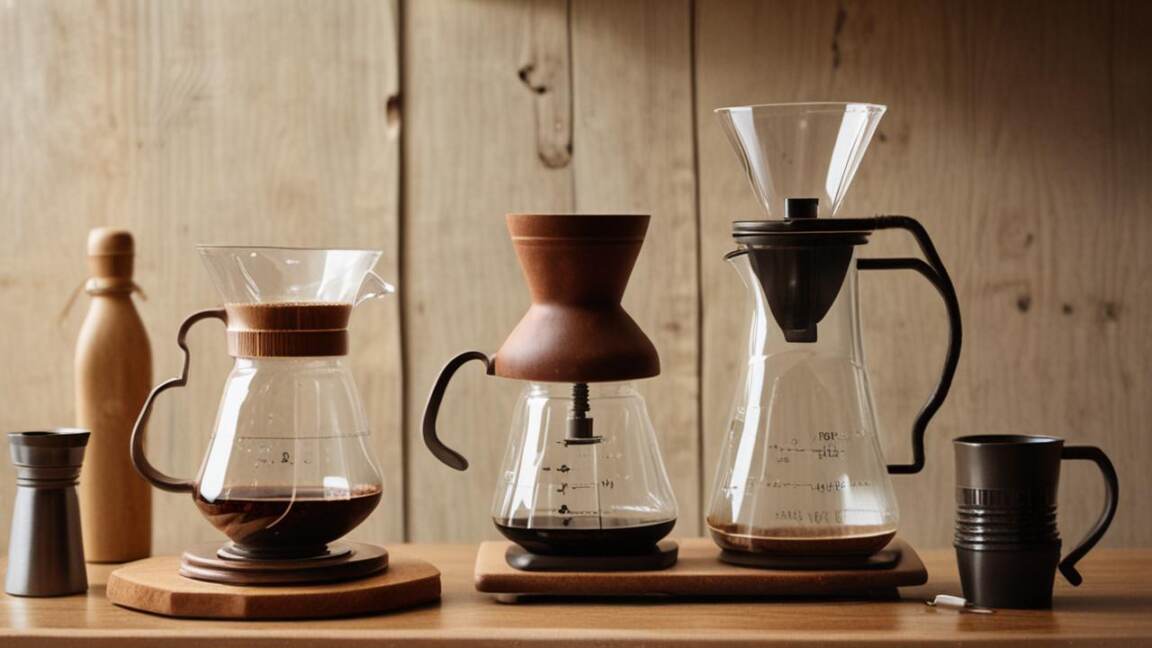
Get Ready for Your Best Cup: What You Need
Starting with the right tools makes all the difference when you’re learning how to brew coffee. For the V60 method, you don’t need a lot of fancy gear. Having these few items will set you up for success.
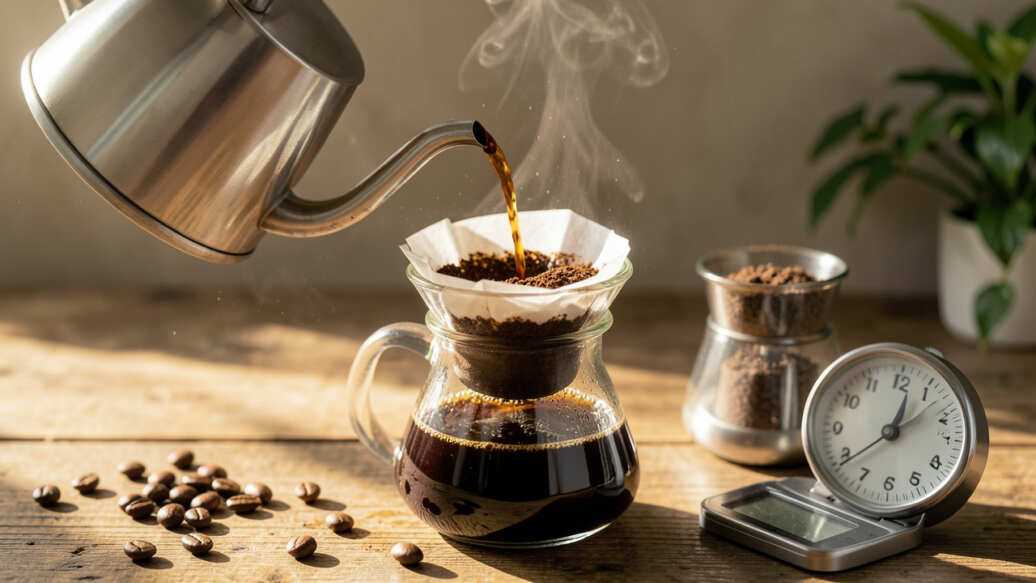
Ensure you have a Hario V60 dripper, paper filters, a gooseneck kettle, and a scale for precise brewing.
It’s about getting the basics right so your coffee tastes amazing every time.
Essential Pour-Over Gear
To begin your pour-over adventure, gather these items. They are simple but crucial for a great brew. You’ll find they are easy to use and help you create a wonderful cup of coffee.
- Hario V60 Dripper: This is the star of the show. It’s a cone-shaped brewer that helps control the flow of water.
- V60 Filter Papers: Make sure you get the right size filters for your V60 dripper.
- Gooseneck Kettle: This kettle has a long, thin spout. It gives you much better control over how you pour water.
- Coffee Grinder: A burr grinder is best for an even grind. Freshly ground coffee makes a big difference.
- Scale: A digital scale helps you measure your coffee and water precisely. This is key for consistency.
- Mug or Carafe: Something to brew your coffee into.
- Fresh Coffee Beans: The better the beans, the better the coffee.
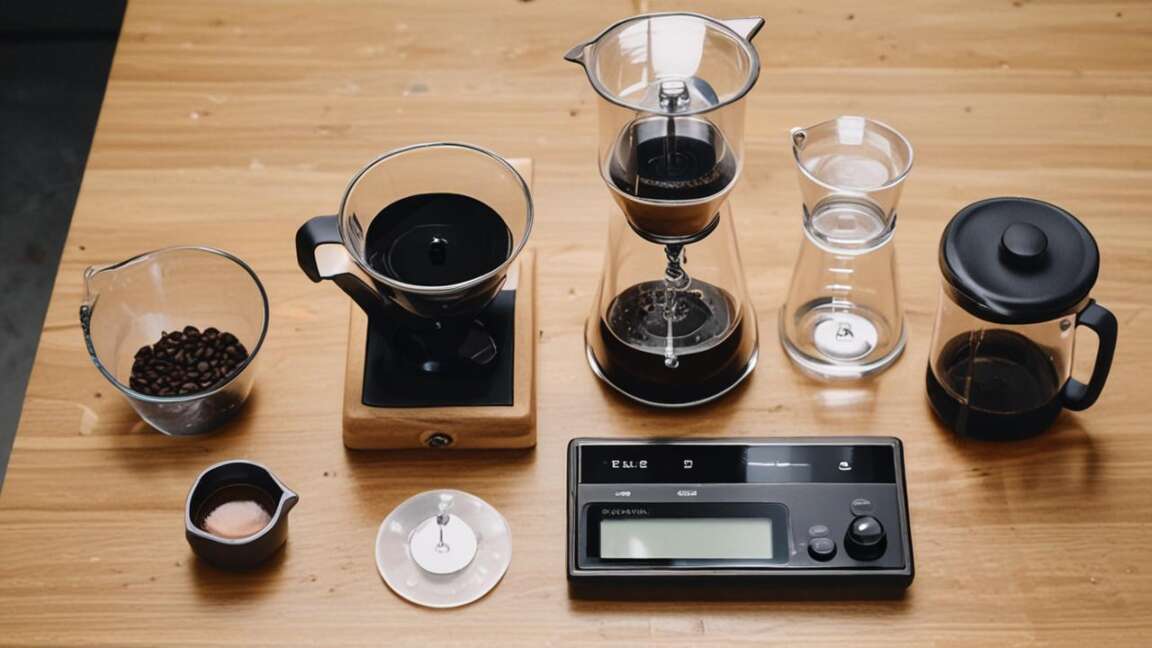
Mastering the Grind and Water: The Foundation of Flavor
The way you grind your coffee beans and the temperature of your water are super important. They directly affect how your coffee tastes. Getting these two things right is a big step towards a perfect cup using the Pour-Over Brewing Steps For Beginners (V60 Method).
Finding the Perfect Coffee Grind
For V60 pour-over, you want a medium-fine grind. Think of coarse sand. If your grind is too fine, the water might not flow through well, leading to a bitter taste.
If it’s too coarse, the water will pass too quickly, and your coffee might taste weak or sour.
For optimal extraction, use a medium-fine grind similar to coarse sand and water heated to around 200°F (93°C).
Experimentation is key here. Start with a medium-fine grind and adjust based on your taste. If the coffee is too bitter, try a slightly coarser grind next time.
If it’s too weak, go a bit finer.
Water Temperature Matters
The ideal water temperature for brewing coffee is between 195°F and 205°F (90°C to 96°C). Water that is too hot can burn the coffee grounds, making the coffee taste bitter. Water that is too cool won’t extract enough flavor, resulting in a weak, sour cup.
If you don’t have a thermometer on your kettle, a good rule of thumb is to bring your water to a boil, then let it sit for about 30 seconds to a minute. This usually brings it into the right temperature range.
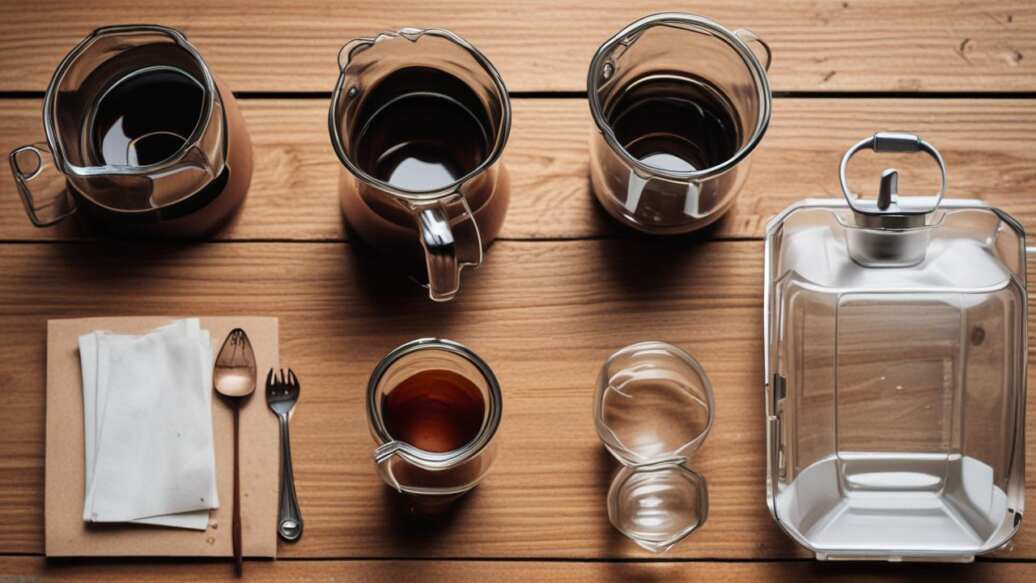
Your Step-by-Step Pour-Over Brewing Guide
Now, let’s get to the fun part: brewing! These Pour-Over Brewing Steps For Beginners (V60 Method) are designed to be easy to follow. You’ll see how simple it is to create a delicious pour-over coffee.
The bloom allows carbon dioxide to escape, ensuring even extraction and a cleaner flavor.
- Rinse the Filter: Place the paper filter into your V60 dripper. Put the dripper on top of your mug or carafe. Pour some hot water over the filter. This rinses out any paper taste and also preheats your dripper and mug. Discard this rinse water.
- Add Coffee Grounds: Put your V60 dripper with the rinsed filter onto your scale. Add your freshly ground coffee. A good starting ratio is 1:15 or 1:16. This means for every 1 gram of coffee, use 15 or 16 grams of water. For example, use 20 grams of coffee and 300-320 grams of water.
- Bloom the Coffee: Start your timer. Gently pour just enough hot water over the grounds to saturate them. This is usually about twice the amount of coffee you used (e.g., 40 grams of water for 20 grams of coffee). Let it sit for 30-45 seconds. You’ll see the coffee grounds puff up and release gases. This is called the bloom, and it’s important for flavor.
- First Pour: After the bloom, slowly pour the remaining water in a circular motion, starting from the center and moving outwards. Try to avoid pouring directly onto the sides of the filter. Aim to keep the water level consistent.
- Second Pour (and subsequent pours): Continue pouring in stages or one continuous pour, depending on your preference. The goal is to finish pouring all your water within about 2 to 3 minutes. If the water drains too fast, your grind might be too coarse. If it takes too long, it might be too fine.
- Let it Drip: Once all the water has been poured, let it drip through the grounds. This should take about 30 seconds to a minute.
- Enjoy: Remove the V60 dripper. Give your brewed coffee a gentle swirl and enjoy the amazing aroma and taste!
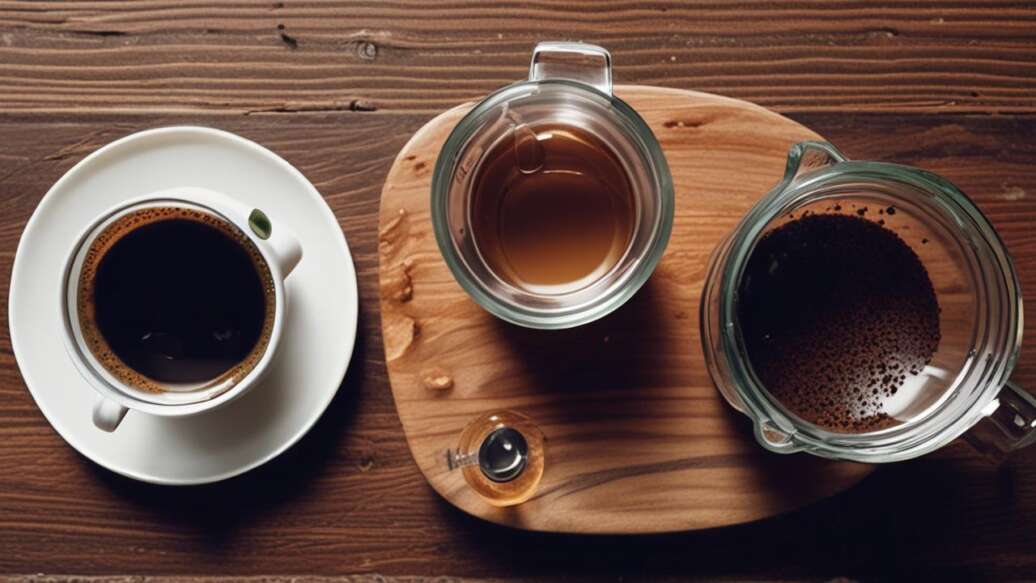
Understanding Your Brew: Tasting and Adjusting
Brewing coffee is a bit of an art, and part of that art is learning to taste and adjust. The Pour-Over Brewing Steps For Beginners (V60 Method) are just the starting point. Your taste buds are your best guide to making the coffee you love.
What Are You Tasting?
After you brew, take a moment to taste your coffee. Pay attention to the flavors. Is it:
If your coffee tastes sour, try a finer grind or hotter water; if bitter, try a coarser grind or cooler water.
- Sour or Tart? This often means the coffee wasn’t brewed long enough or the water wasn’t hot enough. Try a finer grind or hotter water next time.
- Bitter or Burnt? This can happen if the water was too hot, the grind was too fine, or the brew time was too long. Try a coarser grind or slightly cooler water.
- Weak or Watery? This usually means the grind was too coarse, or you didn’t use enough coffee. Try a finer grind or a higher coffee-to-water ratio.
- Just Right? Perfect! Note what you did so you can repeat it.
Adjusting Your Technique
Making small changes can have a big impact. Here’s how to tweak your brewing:
- Grind Size: This is the most common adjustment. Finer grind = slower flow, more extraction, potentially more bitterness. Coarser grind = faster flow, less extraction, potentially more sourness.
- Water Temperature: As mentioned, hotter water extracts more flavor. If your coffee is too sour, try increasing the temperature slightly. If it’s too bitter, try lowering it a few degrees.
- Coffee-to-Water Ratio: A stronger brew uses more coffee or less water. A weaker brew uses less coffee or more water. The 1:15 to 1:16 ratio is a great starting point.
- Pouring Technique: How you pour can affect how evenly the coffee grounds are extracted. Gentle, consistent pours are best.
Don’t be afraid to experiment. Every coffee bean is different, and your brewing setup might be too. The journey of finding your perfect cup is part of the fun!
V60 vs. Other Pour-Over Methods: What’s the Difference?
You might have seen other pour-over devices. The V60 is just one type. Understanding how it compares can help you appreciate why it’s so popular for learning Pour-Over Brewing Steps For Beginners (V60 Method).
Be aware that the V60's single large hole allows faster flow than other brewers, requiring more technique to avoid under-extraction.
Key Differences in Pour-Over Brewers
Most pour-over brewers work on the same principle: gravity pulls hot water through coffee grounds in a filter. However, the design of the brewer affects the flow rate and how much control you have.
The V60 offers a lot of control, which is great for experienced brewers but can be a bit challenging at first. The Kalita Wave is often recommended for beginners because its design is more forgiving. The Chemex produces an exceptionally clean cup but uses a unique, thick filter that can affect brew time and flavor.
Tips for Consistent V60 Brewing
Consistency is what turns a good cup of coffee into a great one, every single time. Applying these tips to your Pour-Over Brewing Steps For Beginners (V60 Method) will help you achieve reliable results.
Using freshly roasted beans, grinding just before brewing, and measuring both coffee and water precisely are the keys to consistency.
- Use Fresh Beans: Coffee beans are best used within 2-4 weeks of their roast date.
- Grind Just Before Brewing: Coffee starts losing its flavor compounds as soon as it’s ground.
- Measure Everything: Use your scale for both coffee grounds and water. This is the easiest way to ensure consistency.
- Control Water Temperature: As we’ve covered, this is crucial for proper extraction.
- Be Patient: Pour-over takes a few minutes. Don’t rush the process.
- Keep Your Gear Clean: Coffee oils can build up and affect the taste of your brew. Rinse your V60 and carafe after each use.
Frequently Asked Questions
What is the best coffee bean to use for V60 pour-over?
Lighter roasts, especially single-origin beans from Ethiopia or Kenya, often shine with the V60. They allow the bean’s natural fruity and floral notes to come through. However, medium roasts can also be excellent, offering a more balanced profile.
How much coffee should I use for my V60?
A good starting point for Pour-Over Brewing Steps For Beginners (V60 Method) is a coffee-to-water ratio of 1:15 to 1:16. For example, use 20 grams of coffee for 300-320 grams of water. You can adjust this to make your coffee stronger or weaker.
Why does my V60 coffee taste sour?
A sour taste usually means the coffee is under-extracted. This could be because your coffee grind is too coarse, your water wasn’t hot enough, or the water flowed through the grounds too quickly. Try grinding finer or using hotter water.
How long should the brewing process take?
For a typical 20-gram dose of coffee, the entire brewing process, from the first pour to the last drip, should take around 2 minutes and 30 seconds to 3 minutes and 30 seconds. If it’s much faster, your grind might be too coarse.
Can I use pre-ground coffee for my V60?
While you can, it’s highly recommended to use freshly ground beans. Pre-ground coffee loses its flavor quickly. If you must use pre-ground, choose a medium grind and use it as soon as possible after opening the bag for the best results with your Pour-Over Brewing Steps For Beginners (V60 Method).
Final Thoughts
Mastering the Pour-Over Brewing Steps For Beginners (V60 Method) is simpler than you might think. By focusing on fresh beans, the right grind, and mindful pouring, you can consistently brew delicious coffee. Enjoy the process and the fantastic taste in every cup.